VSCO Film 02 offers some really interesting additions to the films we explored last time in VSCO Film 01. VSCO has labeled this pack “The Classic Films,” but in reality, it’s a pretty diverse mix of films. So knowing more about each film is vital to using this pack effectively in your photography workflow.
My goal for this guide is to go in-depth on each film in VSCO FILM 02, showing you more about the history and uses of each film so that we can learn to use each film with intention.
When you’re done with this guide, you shouldn’t have click through each preset until you find the one you want. You should be able to visualize how each film preset will affect your photo before you apply it.
While VSCO does a wonderful job of accurately emulating film, they do a horrible job of supplying information on each film. So if you’re new to film or film emulation, it can feel like a bit overwhelming trying to determine which films to use with which photos.
This is particularly true of VSCO FILM 02. For some reason, VSCO seems to have supplied even less information about this pack than others. There is no VSCO FILM 02 Walkthrough on the VSCO FILM Vimeo page, no special instructions in the VSCO Manual, and no special support category in the VSCO Technical Support Page. Basically, the only info they provide is on the sales page and in their blog. Which isn’t much.
So, get ready, because there is a lot to go over in this pack!
VSCO FILM 02 – A More Diverse PACK
First, a quick recap of what we saw last time. In our guide to VSCO FILM 01 we learned all about modern, professional portrait films from Fuji & Kodak. Each film is either still available, or was just recently discontinued. The differences among the films from FILM 01 were quite subtle. They each had accurate color reproduction, very little saturation, low contrast, & beautiful skin tones. As we saw, this made VSCO FILM 01 particularly well-suited for wedding & portrait photography.
VSCO FILM 02, however, is a more diverse pack. But lucky for us, that also makes it more useful.
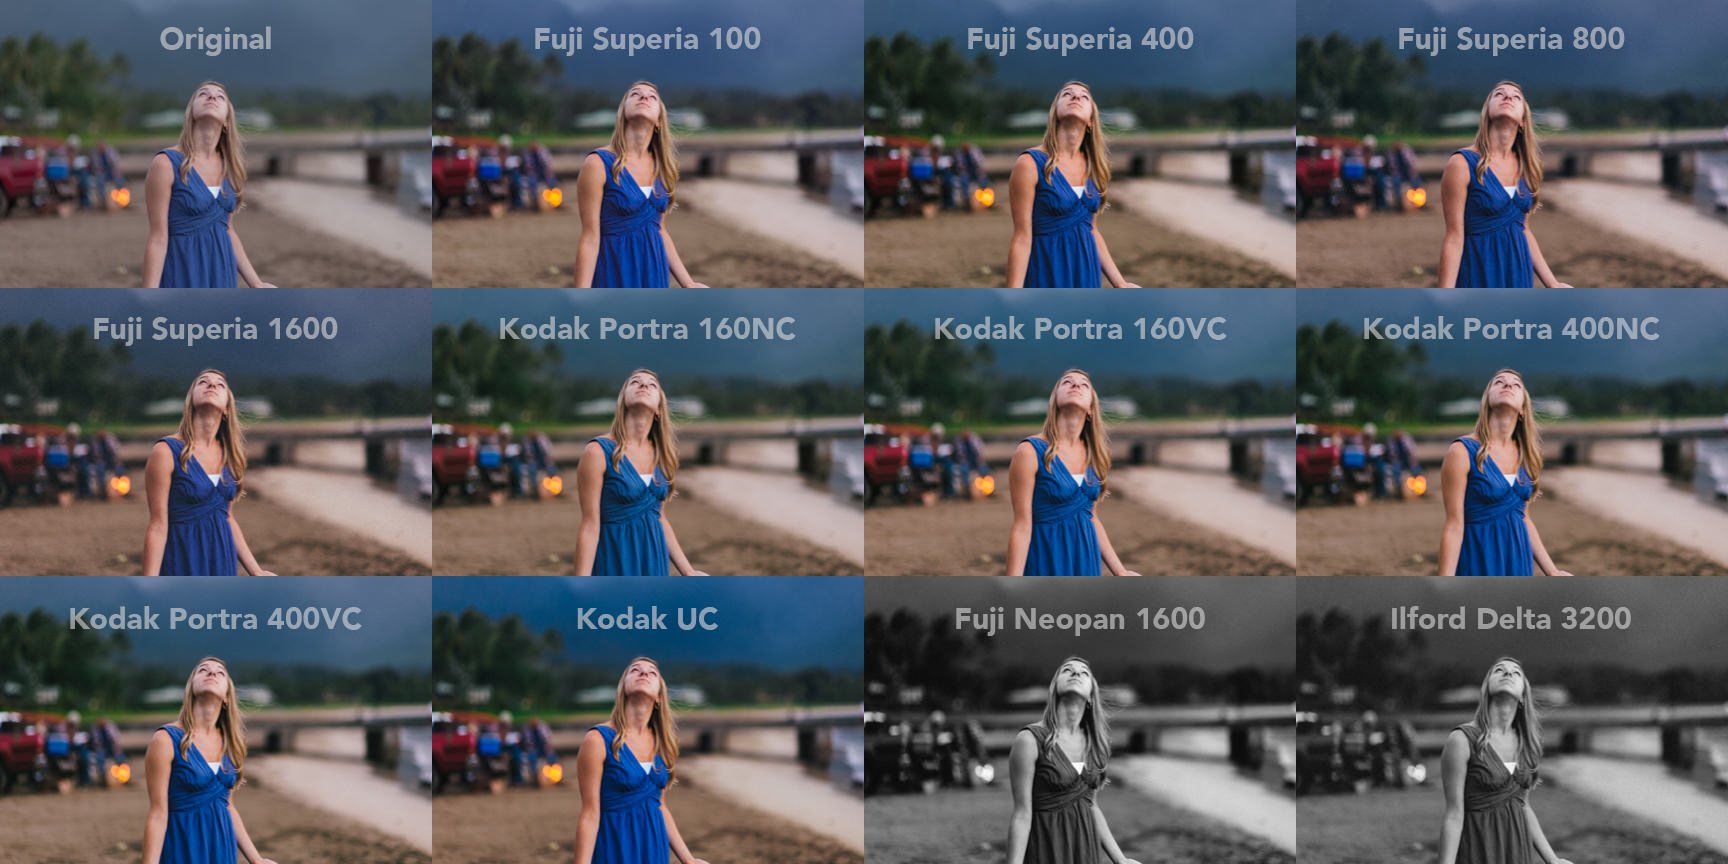
VSCO FILM 02 is a more diverse pack, with a mix of professional portrait film from Kodak and consumer “snapshot” film from Fuji.
The films in this pack can be broken into at least 4 distinct groups, each with its own advantages.
- Fuji’s “Point and Shoot” Superia Film – Fuji Superia is somewhere in-between a professional portrait film (like we saw in VSCO 01) and a consumer film (which we’ll see more of in later packs). The skin tones are very usable (particularly Fuji Reala 100), but it has a bit more contrast, saturation & punch – just what you’d expect from a consumer film. This makes Superia a great snapshot film. Pretty much anything you throw at it will look pretty good – from still life, to travel photos, to candids – and it has some of the quirks and characteristics that a lot of people associate with the “film look.”
- The Classic Kodak Portra Films – Prior to 2010, Kodak’s Portra films were broken out into two saturation levels. There was NC (“Natural Color”) and VC (“Vivid Color”). The “natural color” variation is quite similar to the low-saturation look of the modern Portra. The “vivid color” variation does exactly what you’d expect, slightly bumping up the vividness of images. Like it’s modern day equivalent, these older Portra films are perfect for wedding & portrait photography.
- Kodak Portra “UltraColor” – Kodak originally launched “Ultra Color” in the Portra lineup in 2002, but it was removed within two years, and rebranded as “Kodak UltraColor.” In truth, it should never have been a part of the Portra line-up. It’s not a portrait film. It’s a super-saturated film. I find it works well with colorful travel photos or even commercial photography.
- Classic Black & White Films –In VSCO Film 01, we saw two classic B&W Films from Kodak: Kodak Tri-X and Kodak T-Max. In VSCO Film 02, we get two more classic B&W films: Fuji Neopan 1600 & Ilford Delta 3200. Personally, I feel that these two black and white films have more personality than what we saw in VSCO 01.
So let’s take a closer look at each!
Fuji Superia – A Classic “Snapshot” Film
Prior to now, we’ve only looked at “professional films.” Fuji Superia, however, is more of a “snapshot” film. It was (and still is) sold at a lower price point and is intended for consumer-level photographers.
What exactly does this mean?
These films were designed to produce more contrast, saturation and “punch” than what you’d get from a “Professional” film. Also as a general rule, it will also have more grain, greater color-shift, and less natural skin tones. But remember, the goal of film emulation isn’t necessarily to make something look more natural. This consumer-level film has its own aesthetic, which in many cases, may be closer to the the “look” you are trying to achieve than the professional level films.
So let’s look at each of the Fuji Superia Films:
- Fuji Superia 100 (actually Superia Reala)
- Fuji Superia 400 (actually Superia X-TRA 400)
- Fuji Superia 800 (actually Superia X-TRA 800)
- Fuji Superia 1600
Fuji Superia “Reala” 100
Overview: First, let’s get this straight: this is really Fuji Reala film. (I was able to confirm this with a VSCO rep). Fuji Reala was designed to be a bit closer to a professional portrait film than the other Fuji Superia films. It has soft, subtle gradations and balanced contrast. The colors are bright but not too saturated. Still, it feels a bit less polished than the modern professional films, and skin tones can feel a bit “waxy.” It also adds a bit more “Fuji character,” tending more towards cool green and blue tones.
Best for: This film works OK in a lot of situations. But because it is somewhere in-between a consumer film and professional film, it doesn’t entirely feel completely like either, which may be a disadvantage if you are trying to achieve a particular look. I find it works well with portraits that you want to feel just a tad less polished than what you’d get from a professional film. There are some beautiful examples of what I mean when you search Flickr for Fuji Reala portrait photography.
Example Image: The Fuji Reala gives this image a bit more of the “pop” associated with consumer films, but still produces natural-feeling skin tones.
More Resources of Fuji Superia “Reala” film:
- Fuji Superia Reala Data Sheet
- Fuji Superia Reala Flickr Group
- Review of Fuji Superia Reala by Stephen Dowling
- Some Fuji Reala Love – by Steve Huff Photo
- Fuji Reala portrait shots on Flickr
- Beautiful examples of Fuji Superia Reala in use by the blog Curating Cuteness
Fuji Superia “X-TRA” 400
Overview: Fuji Superia X-TRA 400 is a staple among consumer film shooters and is still widely used today. This film brings with it some of the nostalgia associated with our collective memories of film. The color isn’t perfect or accurate, but as one reviewer perfectly summed up, “This is the color of vacations and other happy memories.” All things considered, the skin tones are good, and colors feel natural but with a bit more vividness, especially violets and greens. The grain is already starting to become noticeable here at 400ISO (in contrast to the Fuji Pro 400H), but that can add to the feeling of depth.
Best for: This is a really useful general purpose film. It adds a good amount of contrast, so make sure your light source is soft (overcast days are your friend).
I love what this film does to the tree in this photo. It adds so much depth and dimension to it. I also love how it cleans up the rest of the photo and gives it some pop.
More Resources For Fuji Superia 400:
- Fuji Superia Data Sheet
- Fuji Superia X-TRA 400 on B&H Photo – still available for purchase.
- My First Roll of Film – Gorgeous examples of just how versatile Fuji Superia X-TRA 400 is (from a fellow redditor, too!)
- Shooting Fuji Superia 400 – great examples from photographer Jim Grey on shooting actual Fuji Superia 400 film, along with some great advice on when it has the most pleasing results.
- Examples of expired Superia 400 X-TRA in use by Curating Cuteness.
Fuji Superia X-TRA 800
Overview: Fuji Superia X-TRA 800 is quite similar to the 400 variety – but as you might expect, the higher ISO brings with it more visible grain and some loss of detail in shadows and highlights.
Best for: This film adds just a bit of “grit” into photos and works very well for city scenes.
I love the feeling and moodiness that the 800 ISO gives to this early-evening chess match in Barcelona.
I love the slight tint of green in the shadows, the texture that’s added with the grain, and the loss of small loss of details in the shadows.
More Resources for Fuji Superia 800:
- Fuji Superia Xtra-800 Data Sheet
- Shooting Fuji Superia 800 – more great photos from Jim Grey, this time with Fuji Superia 800.
- Fuji Superia 800 on Flickr
- Reviews for Fuji Superia 800
Fuji Superia 1600
Overview: Fuji Superia 1600 gives us even more of that gritty, moody consumer film-look. Film grain is very visible, shadows and highlights are faded and missing detail. It’s also balanced to work well in scenes with tungsten or fluorescent light.
Best for: I love using this film on overcast days in the city. It just brings out this gritty, moody, lo-fi film appearance.
Example Images: Fuji Superia 1600 just works magic on city shots. It adds this moody depth and lived-in feel to everything.
More Resources for Fuji Superia 1600:
Pre-2010 Kodak Portra Films
Prior to 2010, Kodak had its Portra films broken out into three different varieties – Natural Color (NC), Vivid Color (VC), and Ultra Color (UC).
The Pre-2010 Kodak Portra films give us a greater levels of control over saturation than Kodak’s current line up of Portra. I think this is much more useable right out of the box than their modern Portra films, unless you are intentionally going for an extremely desaturated, porcelain-skin look.
In fact, one of the reasons that Kodak decided to reduce their Portra line up and remove these more saturated versions is because they assumed photographers were likely now to scan in their negatives, and add their own saturation during post-processing.
It’s true that you can simply dial-up the saturation of the newer Portra 160, but globally increasing the saturation can have unintended consequences, and doesn’t seem to feel as organic. Which is one of the reasons I think these films may be even more usable that the Portra films from pack 1.
So let’s take a closer look at each of the classic Portra films:
- Kodak Porta 160 NC (Natural Color)
- Kodak Porta 160 VC (Vivid Color)
- Kodak Porta 400 NC (Natural Color)
- Kodak Porta 400 VC (Vivid Color)
Kodak Porta 160NC and 160VC
Overview: Much like the newer Portra 160 we looked at last time, the 160 NC and VC are both professional films, with accurate color reproductions and subtle contrast. The film grain is very fine – virtually unnoticeable.
Best for: Portrait and wedding photography
Example Images:
Above is the 160UC. The changes to the image are subtle, and the saturation levels are low.
Above is the 160VC. Personally, I prefer this extra bit of saturation.
More resources for Kodak 160NC and 160VC:
- Kodak’s Technical Data for 160NC, 160VC, 400NC & 400VC
- Ken Kienow x VSCO Film Walkthrough – a great walkthrough with wedding photographer Ken Keinow using Kodak Portra 160 VC.
Kodak Porta 400NC and 400VC
Overview: Again, this is similar to the modern Portra 400 film we saw in VSCO Film 01, with the addition of control over saturation. The 400NC has subtle color and natural skin tones, perfect for low directional light or on-camera flash. The 400VC film has more vibrant colors and slightly higher contrast to add “snap” to images shot in flat or overcast light.
Best for: This film is excellent for portrait or wedding photography. You can follow the guidelines above to determine which variant to use, or just try ’em both! For instance, in the case below, I like the NC version better.
Kodak Porta 400 Ultra Color

Overview: Kodak 400UC film provides extremely high color saturation in low light or on-camera flash situations. In additional to adding intense saturation, it also has a tendency to tint greens more towards blue (and less towards yellow), which is a departure from other Kodak films.
It was advertised originally as a sort of “best of both worlds” film, giving users deep, saturated color “without sacrificing skin tones.” It does an OK job of preserving skin tones, but it really is too saturated for most portrait work, and thus it was moved out of the “Portra” lineup and was rebranded as simply Kodak Ultra Color.
Best for: This film seems to work best for colorful still-life, landscape & travel photography. Only use it for portrait photography if (a) you really really need to get some saturation into the skin, or (b) you are taking a travel photo with and you want to have OK skin tones and good scene saturation levels.
Example images:
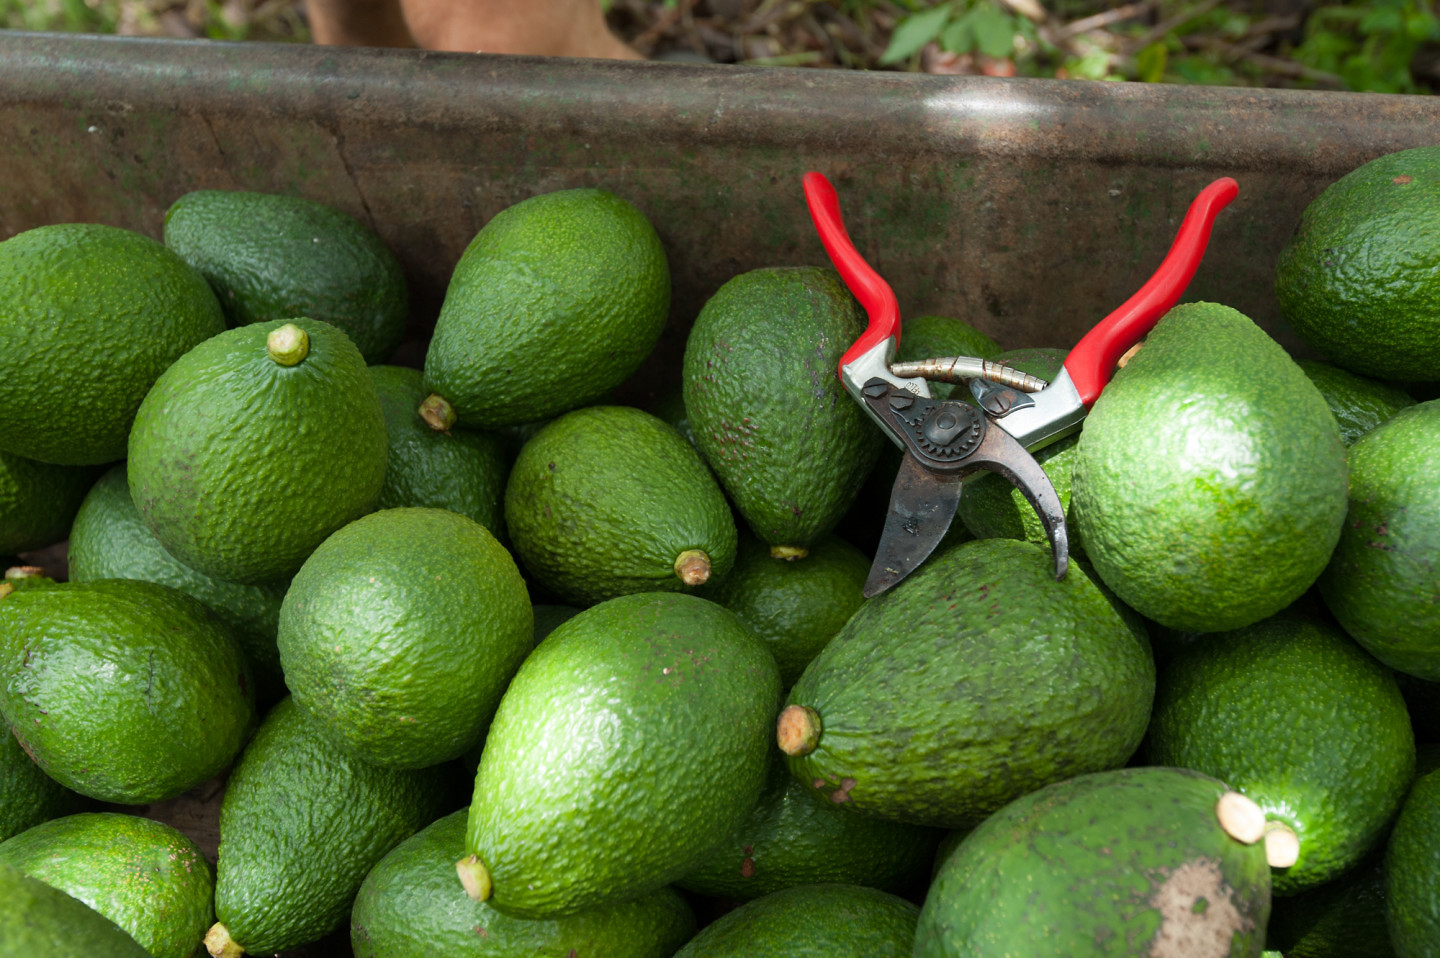
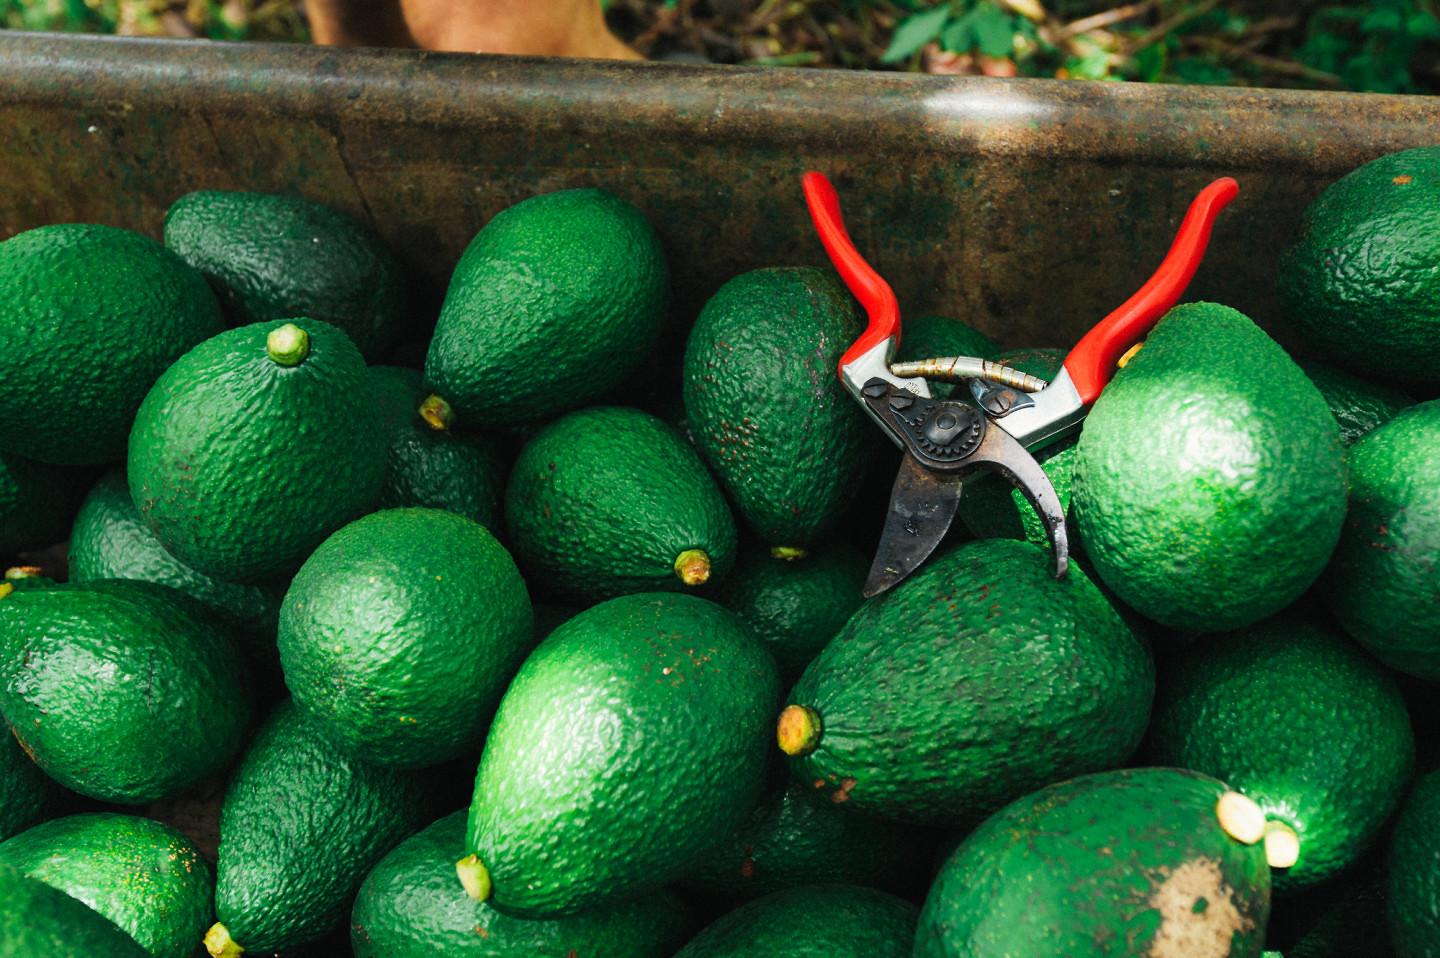
Notice how Kodak UC not only adds intense vividness to this photo, but also noticeably shifts the tint of the avocados from green-yellow to green-blue.
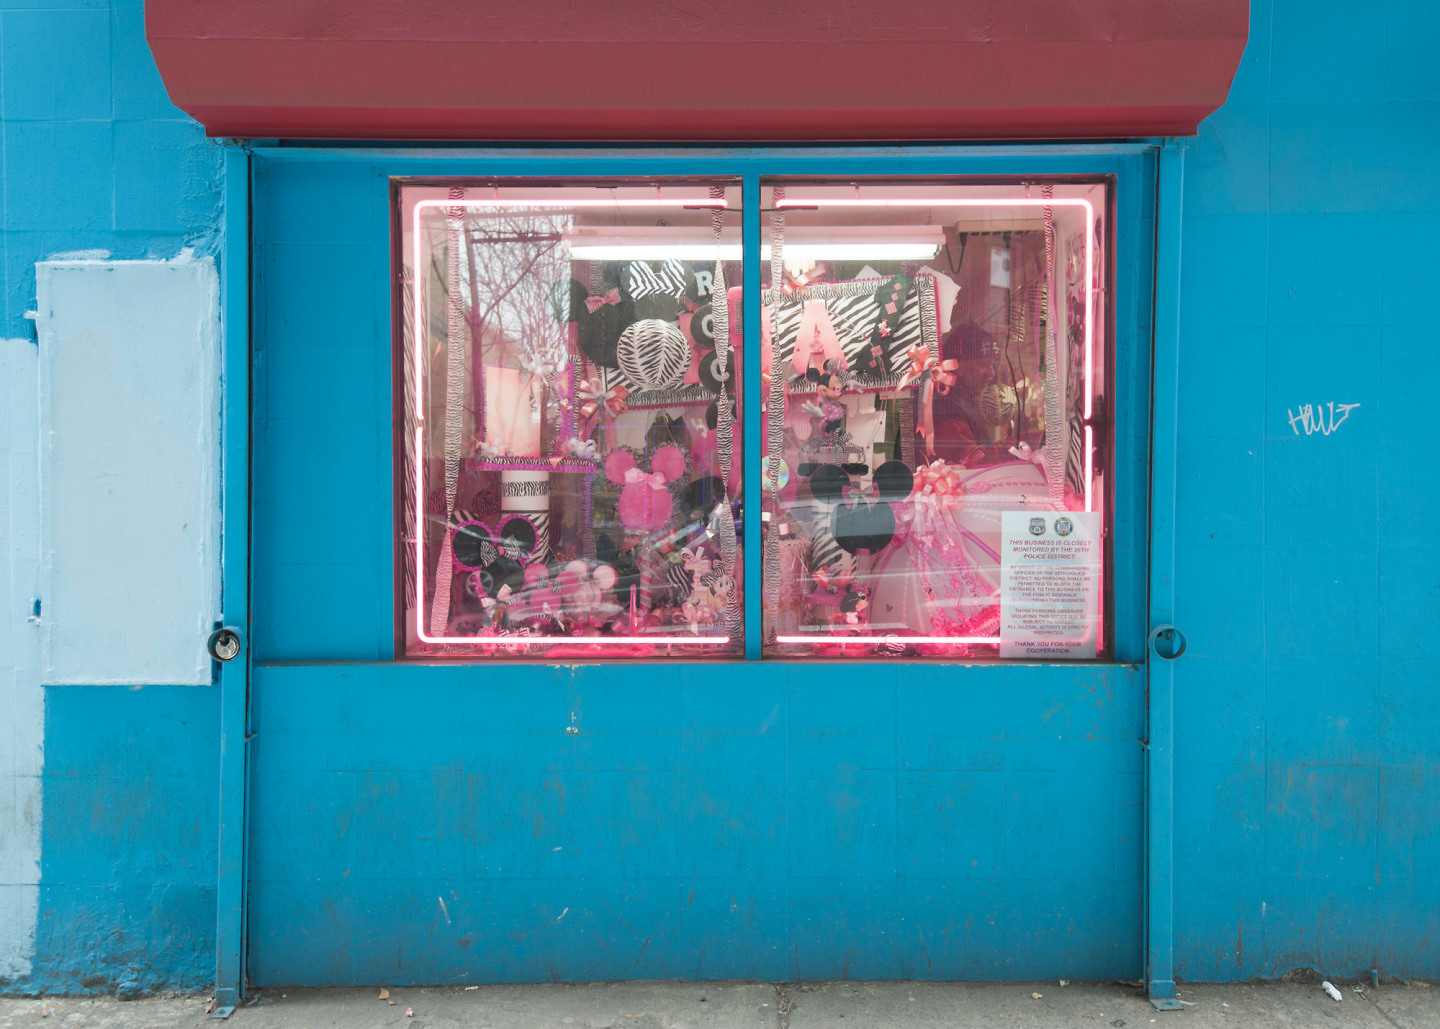
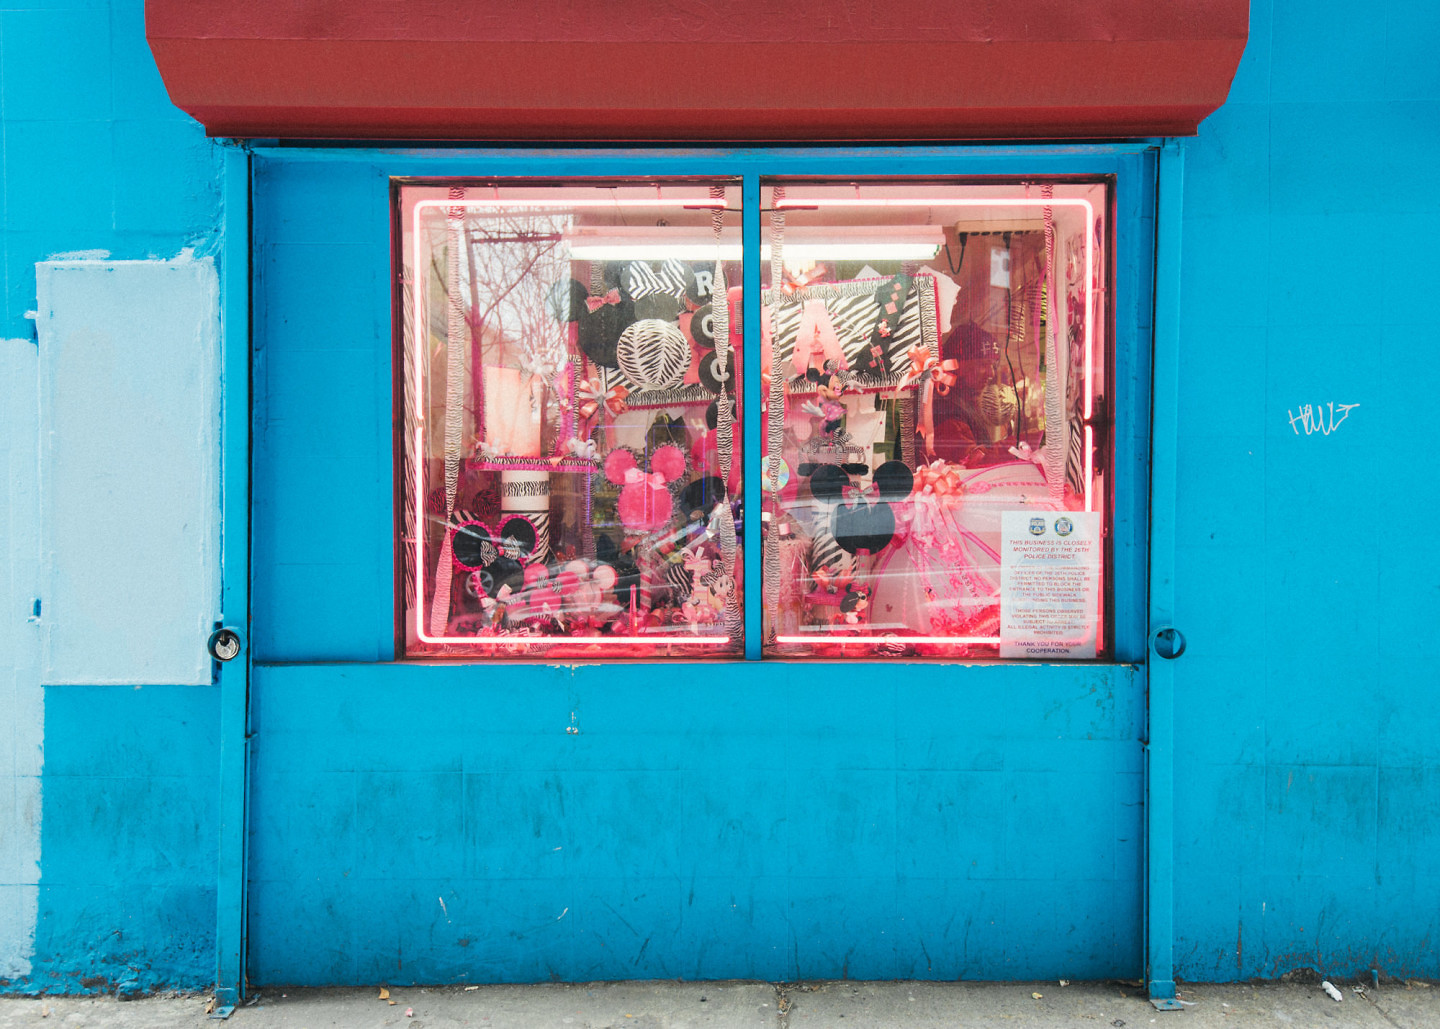
The Kodak 400UC does a great job of bringing out the landscape colors in this photo without destroying the skin tones.
This saturation of this film is really fun to play with!
More Resources for Kodak Ultracolor:
- Flickr group for Kodak UltraColor (the new name for Portra 400UC)
- Kodak Ultra Color technical data.
Fuji Neopan 1600
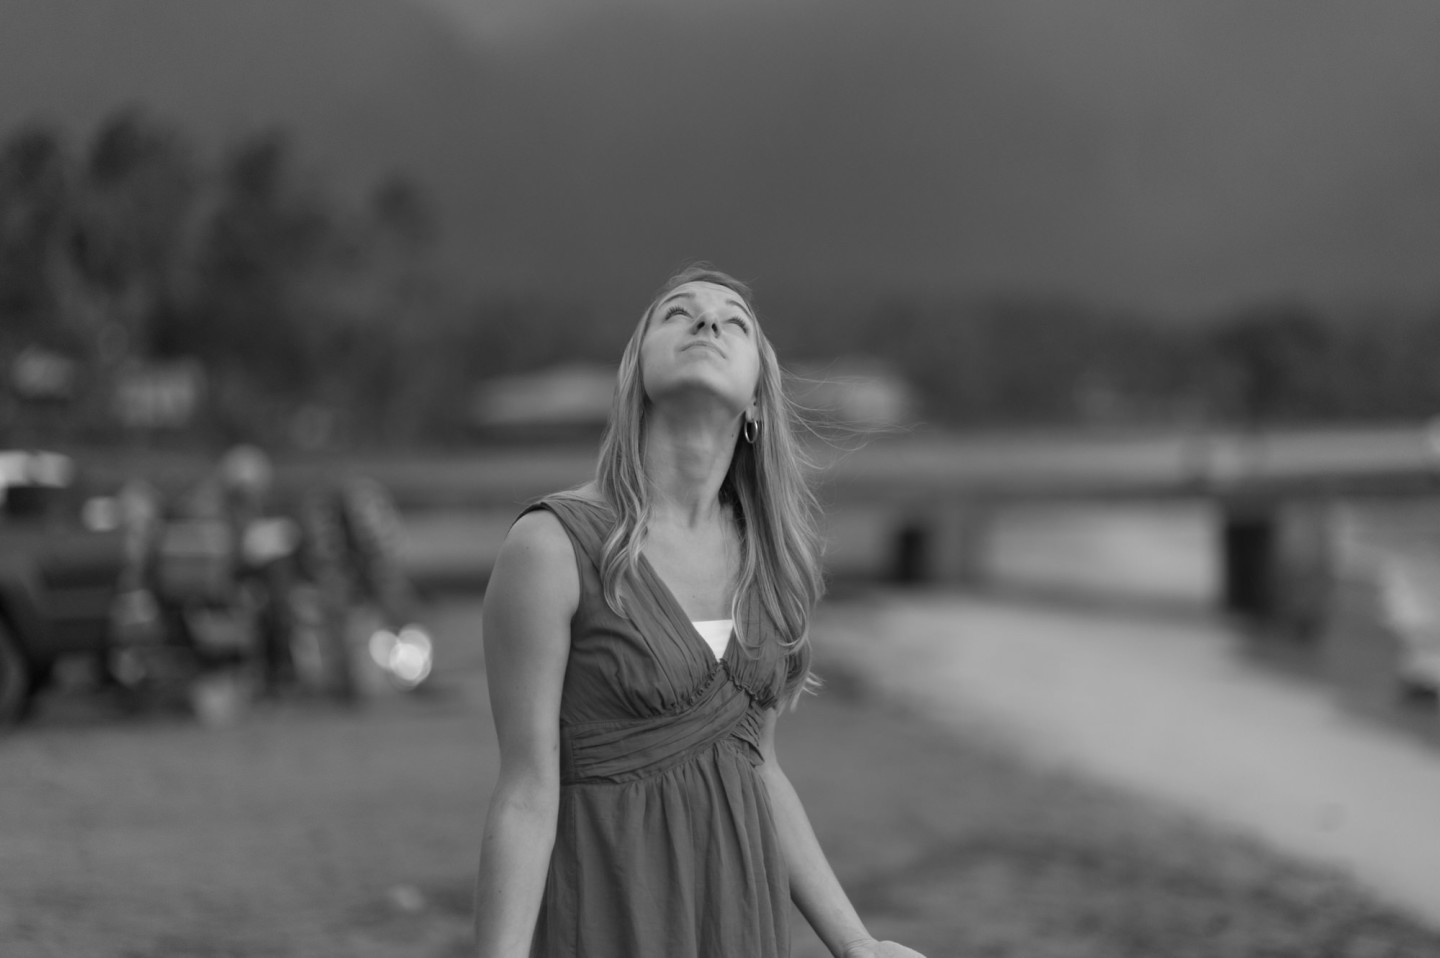
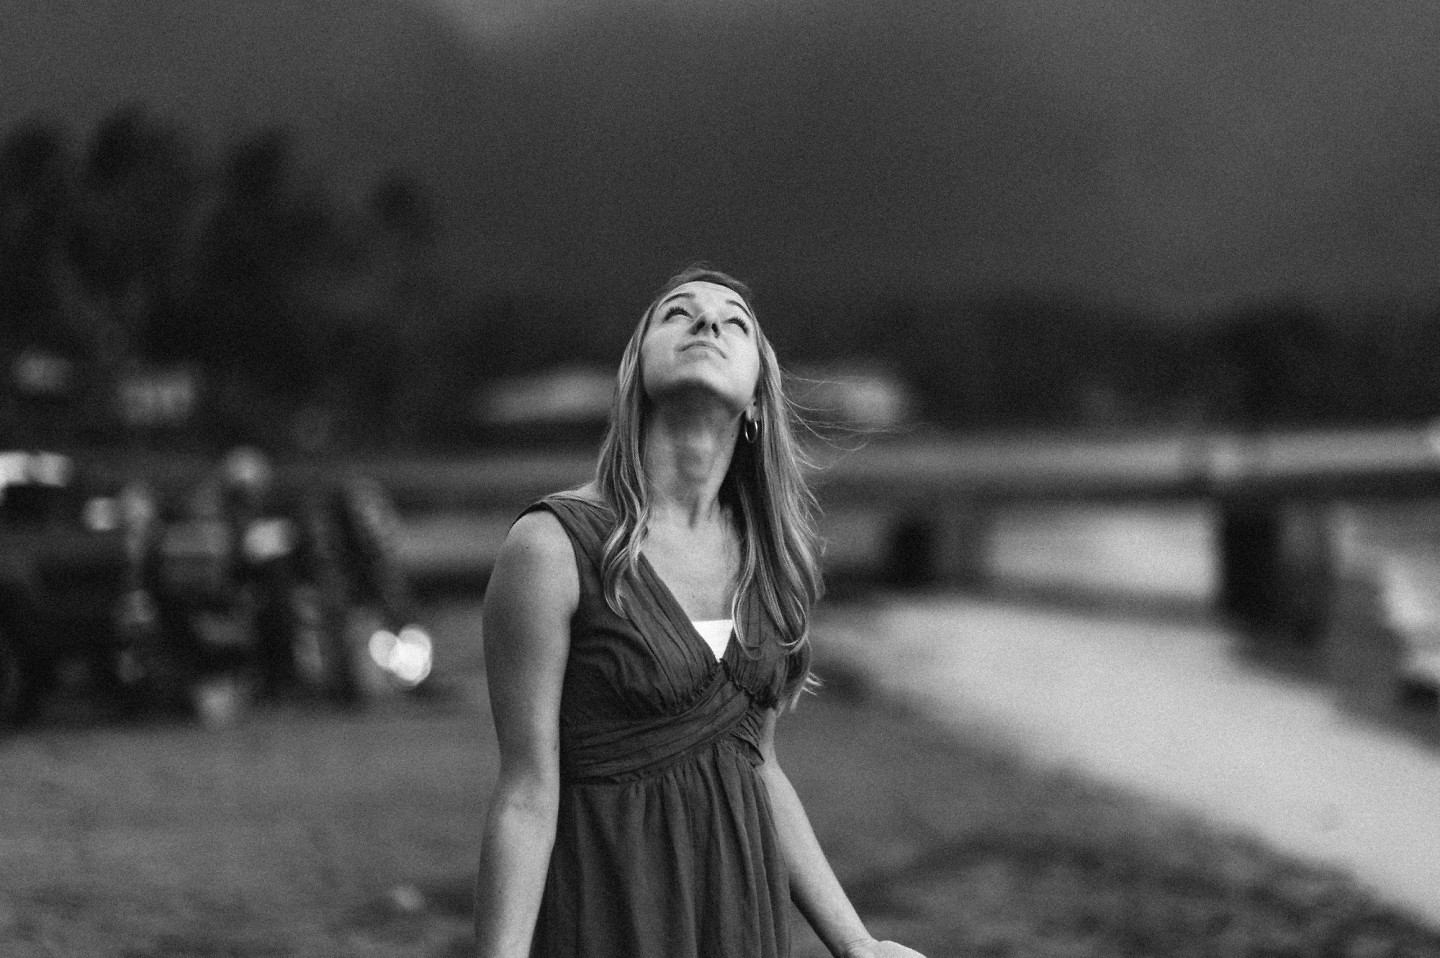
Overview: Fuji Neopan 1600 is a professional black & white film which is no longer in production. Compared to the other black & whites we’ve looked at so far, this one is known for having very heavy contrast and enhanced sharpness, with a tendency towards deep, rich blacks. The grain is noticeable, but not nearly at the level we’ll see in the 3200 speed films.
Best for: Because of the amount of contrast this film adds, you’ll probably get the best results shooting with available light in low-light conditions. Shoot this in the evening without a flash, then watch the film add new life to your photo.
Example Images:
This photo was taken shortly after sunset, with a low amount of available light. The Fuji Neopan 1600 really adds some beautiful contrast to the scene, adding some rich dark tones while still maintaining subtle gradations in the lighter tones.
Similarly, this indoor scene have very little available light, and appears flat just doing a standard black and white conversion. The additional contrast and slight grain adds some much needed depth.
More resources on Fuji Neopan 1600:
- Fuji Neopan 1600 Data Sheet from FujiFilms
- Reviews and Info on Fuji Neopan 1600 from B&H Photo (no longer available for purchase)
- Fuji Neopan 1600 on Flickr
- Is Fuji Neopan better than Kodak Tri-X?
Ilford Delta 3200
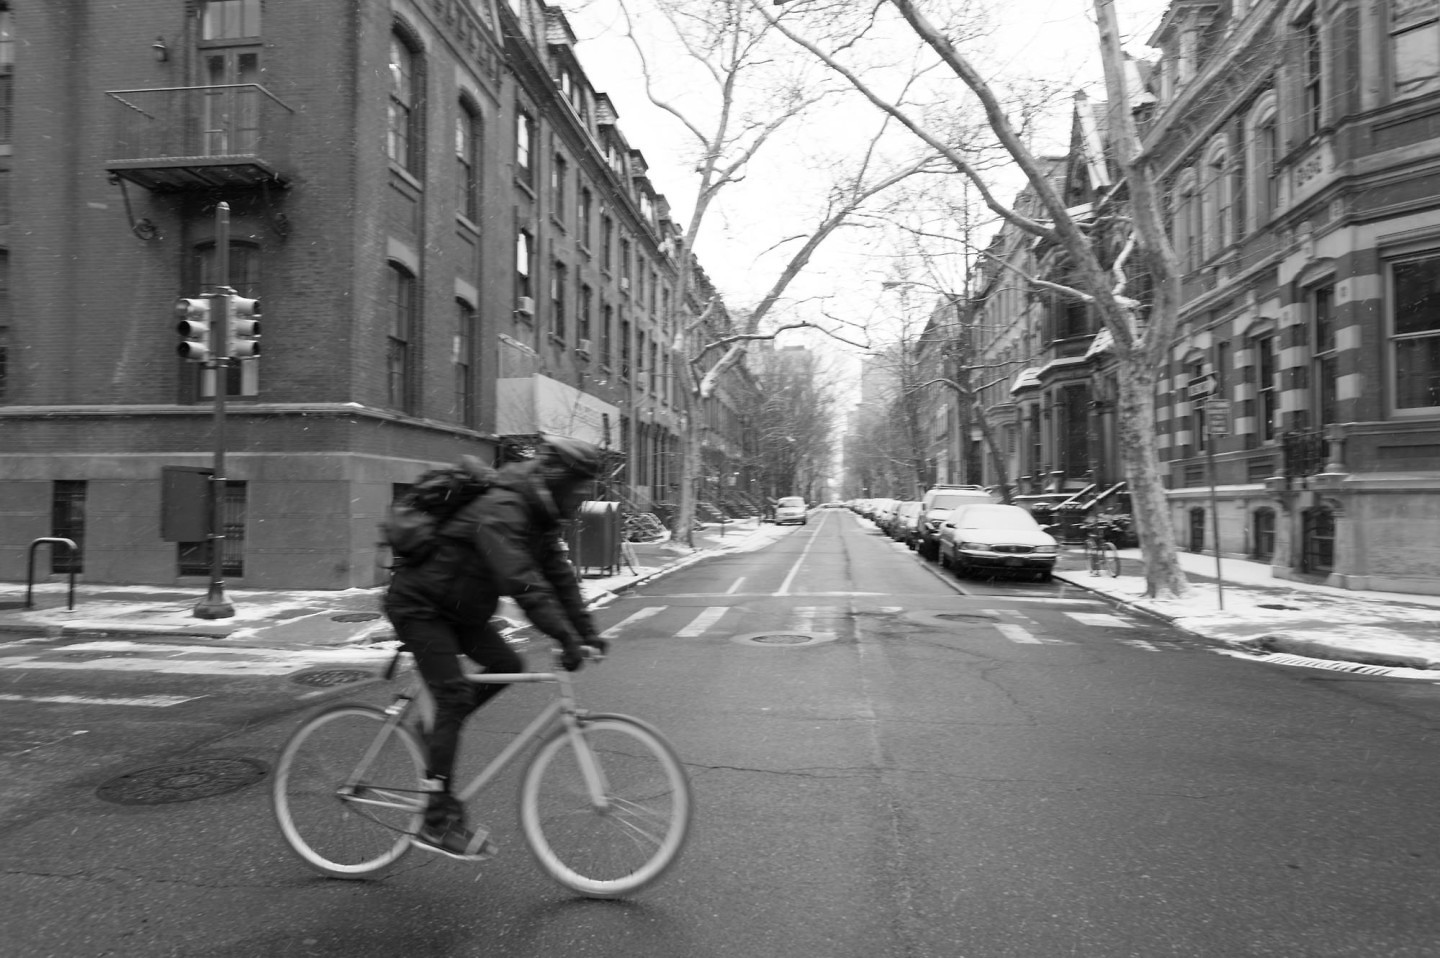
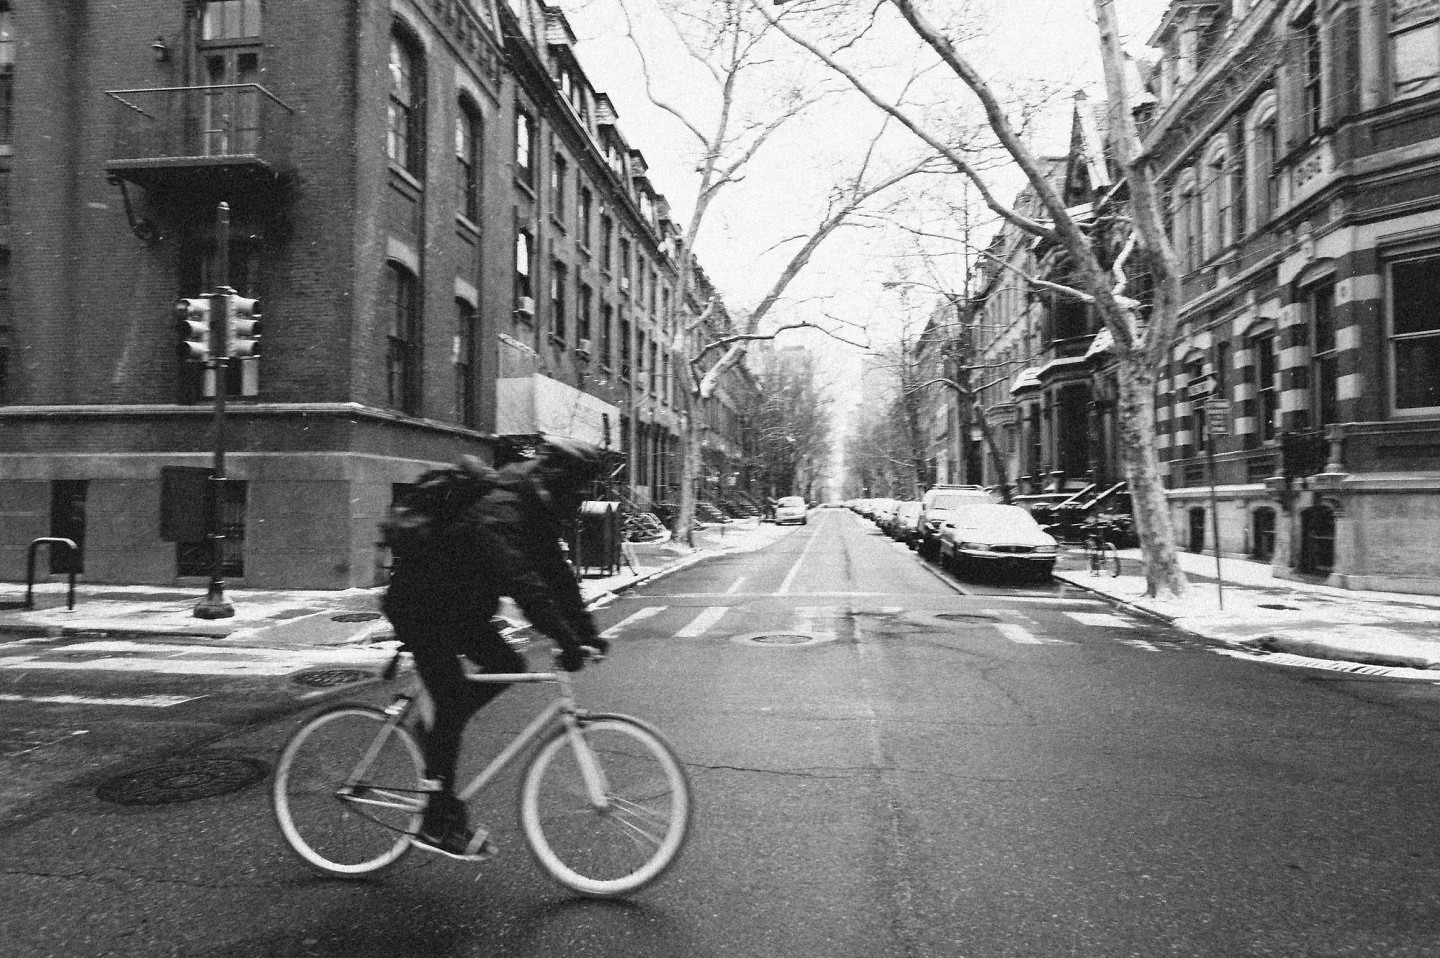
Overview: Ilford Delta is ultra-speed, professional black and white film. It’s still available for purchase, and very much in use by black & white film shooters today. This is a very grainy film, so if you like grain, this is your film! The contrast levels are much more subdued on this film vs. the Neopan 1600, so the tonality is much more nuanced.
Ideal For: This is THE film for black & white street photography. The even contrast levels allow you to shoot in all kinds of lighting conditions, and the high film grain makes your shot feel like an instant classic.
Example Images:
The use of Ilford Delta 3200 adds so much character to this image vs the standard B&W conversion. It adds just enough contrast to give the image a little depth. The loss of details in the shadows and highlights makes the image feel a bit cleaner & simpler. And the the heavy film grain adds to the feeling of grit and rawness in the city.
This isn’t the greatest image, but even on a mediocre image like this, the tones and grain of the Ilford Delta 3200 film adds so much character.
More resources on Ilford Delta 3200:
- Ilford Delta 3200 Professional Data Sheet from Ilford
- Ilford Delta 3200 Reviews and Purchase Info from B&H Photo
- Example images of Ilford Delta 3200 from Australian photographer Daniel Klaas
- “So You Like Grain” – some great example shots of Ilford Delta 3200
- Ilford Delta 3200 on Flick
FREE VSCO Film 02 Cheat Sheets Download
So there you have it – my in-depth look at every film in VSCO Film 02! To help make this knowledge a little easier to use as you process your own images, I put together a little cheat sheet for you.
Just fill in the form, and hit “download.” I’ll send you a link to the free download right away! Enjoy!




















Thanks for posting this Nathan,
It has helped a lot with deciding whether or not to purchase the VSCO 02 pack. I have the 01 pack and use Kodak Portra 160/400/800 all the time and was unsure if I would need the nc/vc/uc versions. With my work being split between portrait and landscape I can see how valuable the 400UC look would be for my more vibrant shots because I am often trying to preserve skin tones when I increase saturation numbers.
Thanks for the comparison shots!
My pleasure, Jess!
Thanks for this fantastic tutorial, Nate! I wanted to try one of the VSCO packs, and had no idea how to go about choosing, and ultimately chose 02 instead of 01, but still wasn’t sure what I should expect. I processed a few images, but still found myself scratching my head. This is a HUGE help in showing me what to expect when I try each of these. A question for you…. I shoot mostly images of people, although I love street photography and take the opportunity to shoot those when I travel for work. do you find it helpful to adjust white balance before or after you apply the preset?
So glad this was helpful 🙂 The short answer is that I make most white balance adjustments after applying presets. Here’s the longer answer: when I first import my images, I always start with the temp set to to 5500k and tint set to 0. This is what practically all films were balanced for, so in my mind, it’s a good place to begin. Then, I’ll try to determine what kind of look I’m going for. Do I want the image to feel cool or warm? I’ll try a few presets I know will get me closer to that look. Then after applying the preset, I may fool around with the white balance a bit just to see if I can bring it any closer to the vibe I want. I think the important thing to remember is that there isn’t always a right or wrong white balance – it’s whatever brings your image closer to your vision for it!
Thanks so much for the advice, Nate! I usually shoot in Kelvin, but tend to find that even with a warmer kelvin value the resulting images are on the cool side when I bring into LR. I like the idea of starting at more of a neutral balance and going from there! 🙂
I LOVE what you have been writing about the different VSCO packs so far. When will we see an article about VSCO 04? I always use Kodak Portra as my standard emulation, but the 04 pack is the most fun pack imho.
…ha… before I purchased one of the packs, I figured I’d research “best” VSCO kits… and here I am. Nice job with the cheat sheets! I’m making my way through your and various sites. I liked the link to Steve Huff, who shot with a Summarit and used this kit. Funny, I love Steve and purchased a 1956 Summarit today. The Summarit, that oft scoffed Leica lens. I’m happy so far but boy is it different (bold, ital)!! Thanks, Nathan, for this effort! Others are obviously benefiting.
I can´t thank you enough for writing these missing guides. The level of detail is exactly what I needed. I imagine that writing each guide is incredibly time consuming, but I´m hoping for a VSCO Film 05 guide soon! Thanks again!
Hi, i cannot thank you enough for this post and the time and effort you have taken to write and explain everything!! I am amateur food photographer and what pack would you recommend for me? I want to achieve the low light mystic photo a…
Thanks again!
Wow, this is exactly the post I was scouring Google for – as you say, VSCO isn’t very good at the background info on their film stocks. Thanks for the hard work & tips, it really helped with choosing my next pack to purchase – this one! Looking forward to the rest of the series.
Great article and thank you so much for taking the time to contrast and compare. This helps so much!
Fantastic! Thank you for taking the time and effort!