The Film Toolkit In Use
The video above goes through each setting in the Film Toolkit. But I thought it may be helpful to show more examples of how I use the Film Toolkit as a part of my own development process with NATE presets. I've put together a few before/after examples for each pack to give you some tips on how to use it.
Jump ahead to: E-Chrome Examples, K-Chrome Examples, Starter Pack Examples
E-Chrome Examples
I use E-Chrome in my development flow for both portraits and adventure/environmental photography, and I develop each a bit differently. I tend to use the [–] or [––] preset versions with portraits, and may try to make it softer Film Dynamics or Film Punchiness [–]. Otherwise, I tend to use full-strength preset versions, and may add more punchiness, as well as evening out the saturation using Film Saturation.


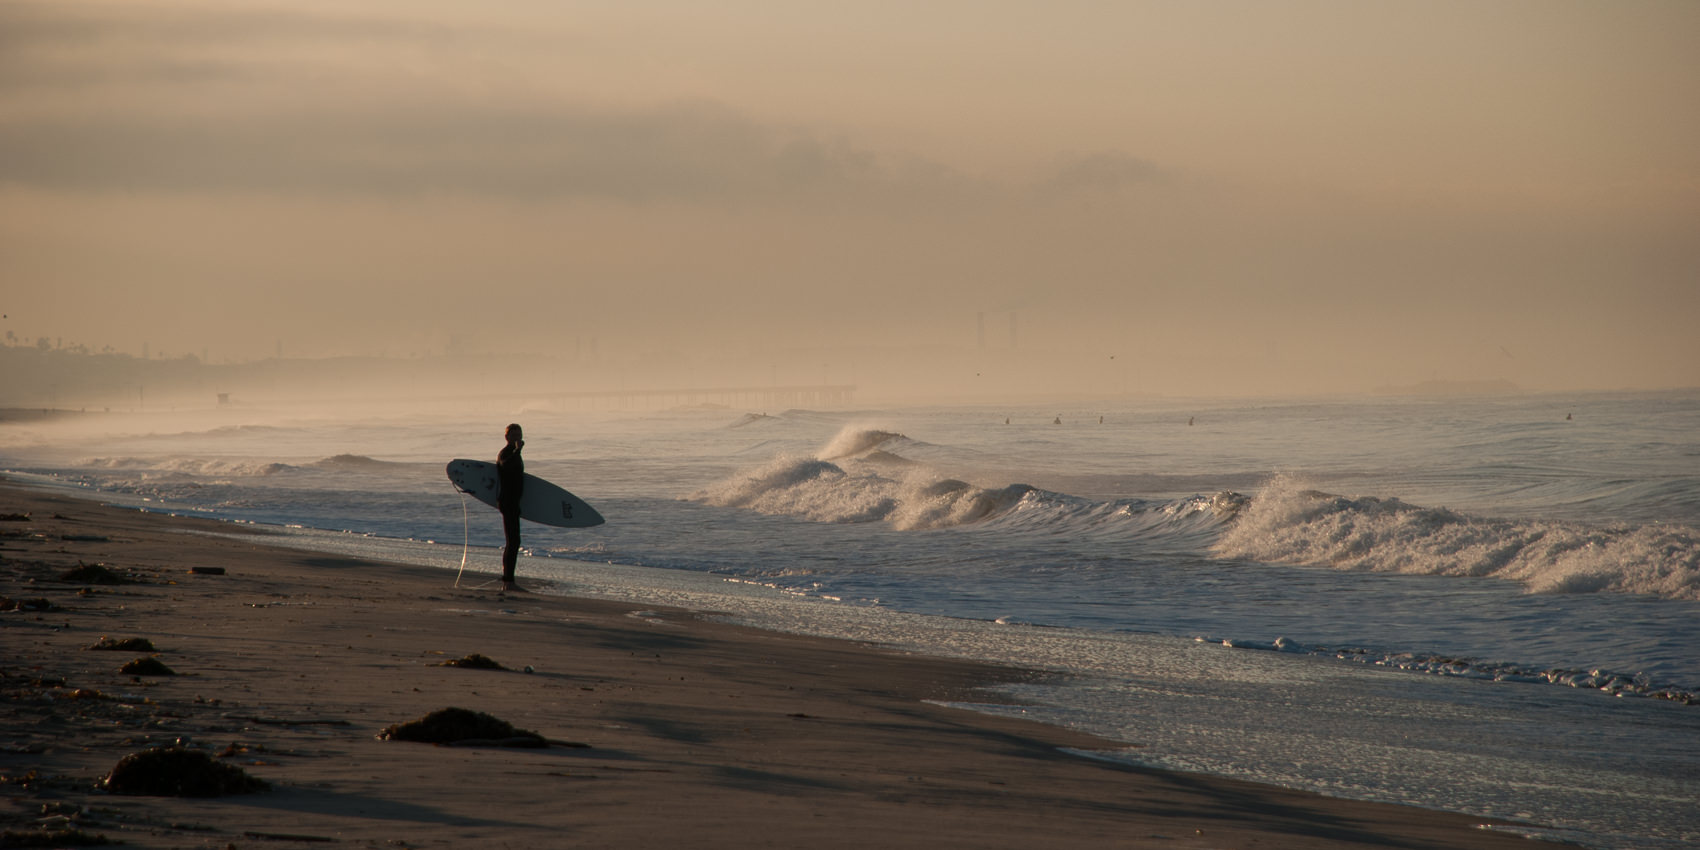
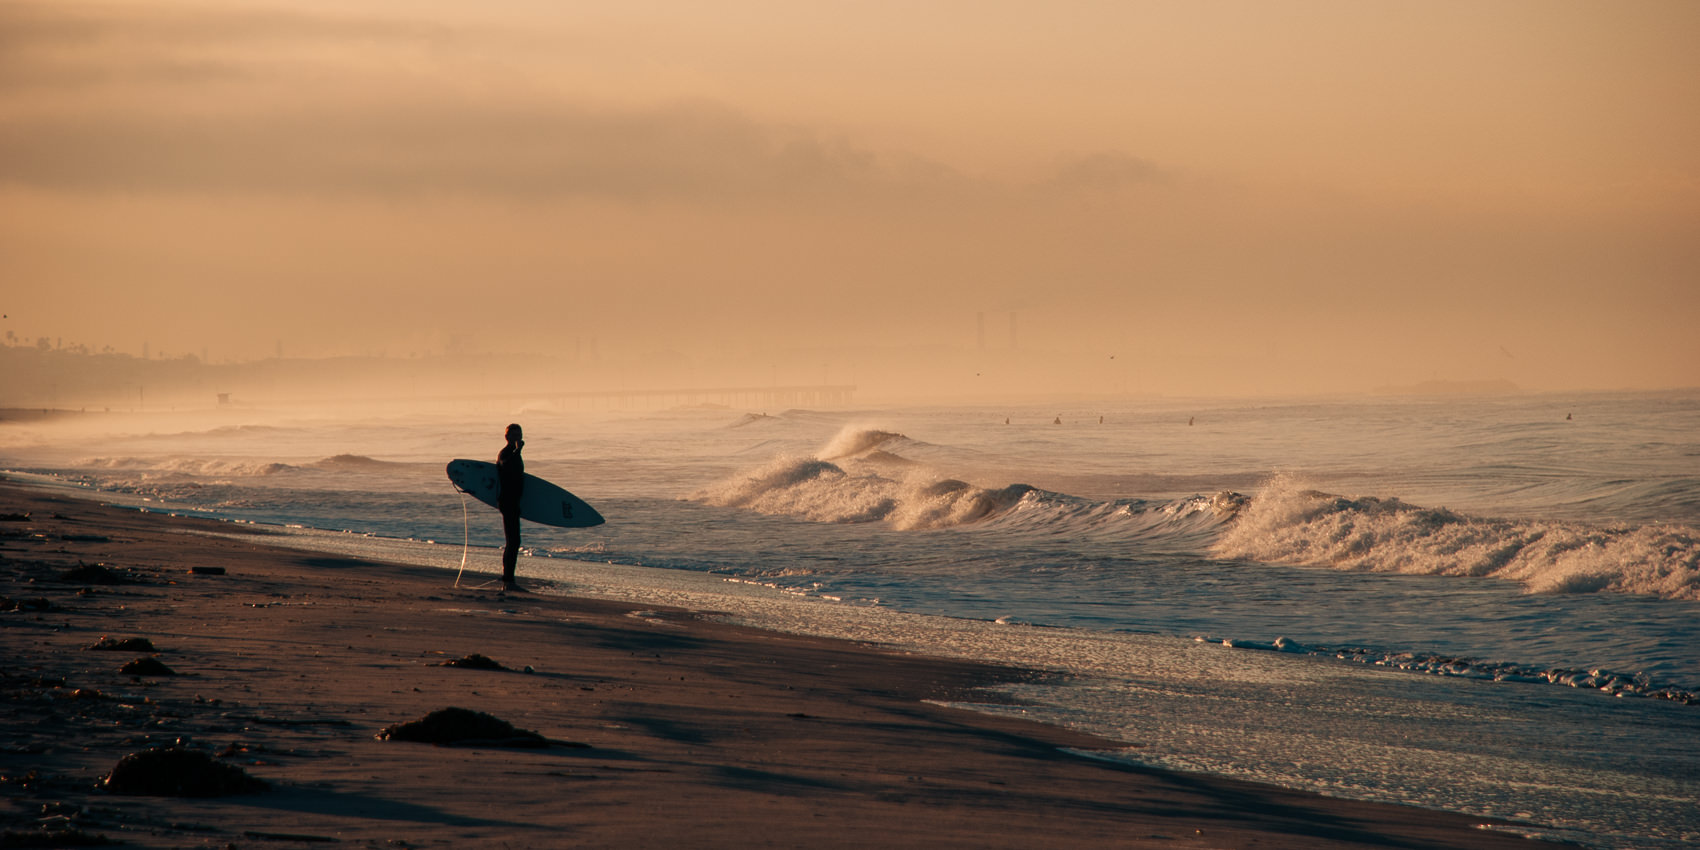
E-Chrome 01 [––] Film Saturation + Film Punch –
E-Chrome 01 is a wonderful preset for skin tones. Here, I've used the [––] variation to produce 50% strength. A touch of film saturation softens the image up. And here, I use the Film Punch [–] variation to remove some punch from the image and make it feel softer.
E-Chrome 07 Film Saturation ++
E-Chrome 07 is one of my favorites and looks incredible when enhancing golden hues. Here, I've added Film Saturation ++ to make the saturation more even in the shadows and highlights.


E-Chrome 04 [–] Film Fade 4 Film Punch ++
E-Chrome 04 adds incredibly warm, tan undertones throughout the image that work well in a lot of situations (including portraits). There's already some fade in it, but I add more using Film Fade 4, and then add drama using Film Punch ++

00 days :: 00 hrs :: 00 minutes :: 00 seconds
K-Chrome Examples
In general, you will want to use the Film Toolkit more subtly with the K-Chrome pack. This pack emulates classic slide films, which are not typically associated with strong grain or fade. The name of the game here is subtlety. I'll usually try Film Saturation and Film Punch. If I want a hint of texture, I'll add Grain 200 ISO or Grain 400 ISO.


K-Chrome 05 Film Fade 02 Grain 200 ISO
K-Chrome 05 gives us natural vibrancy right out of the gate, with rich blacks & bold colors. Here, I've just added a touch of film fade and grain to avoid feeling "too perfect."
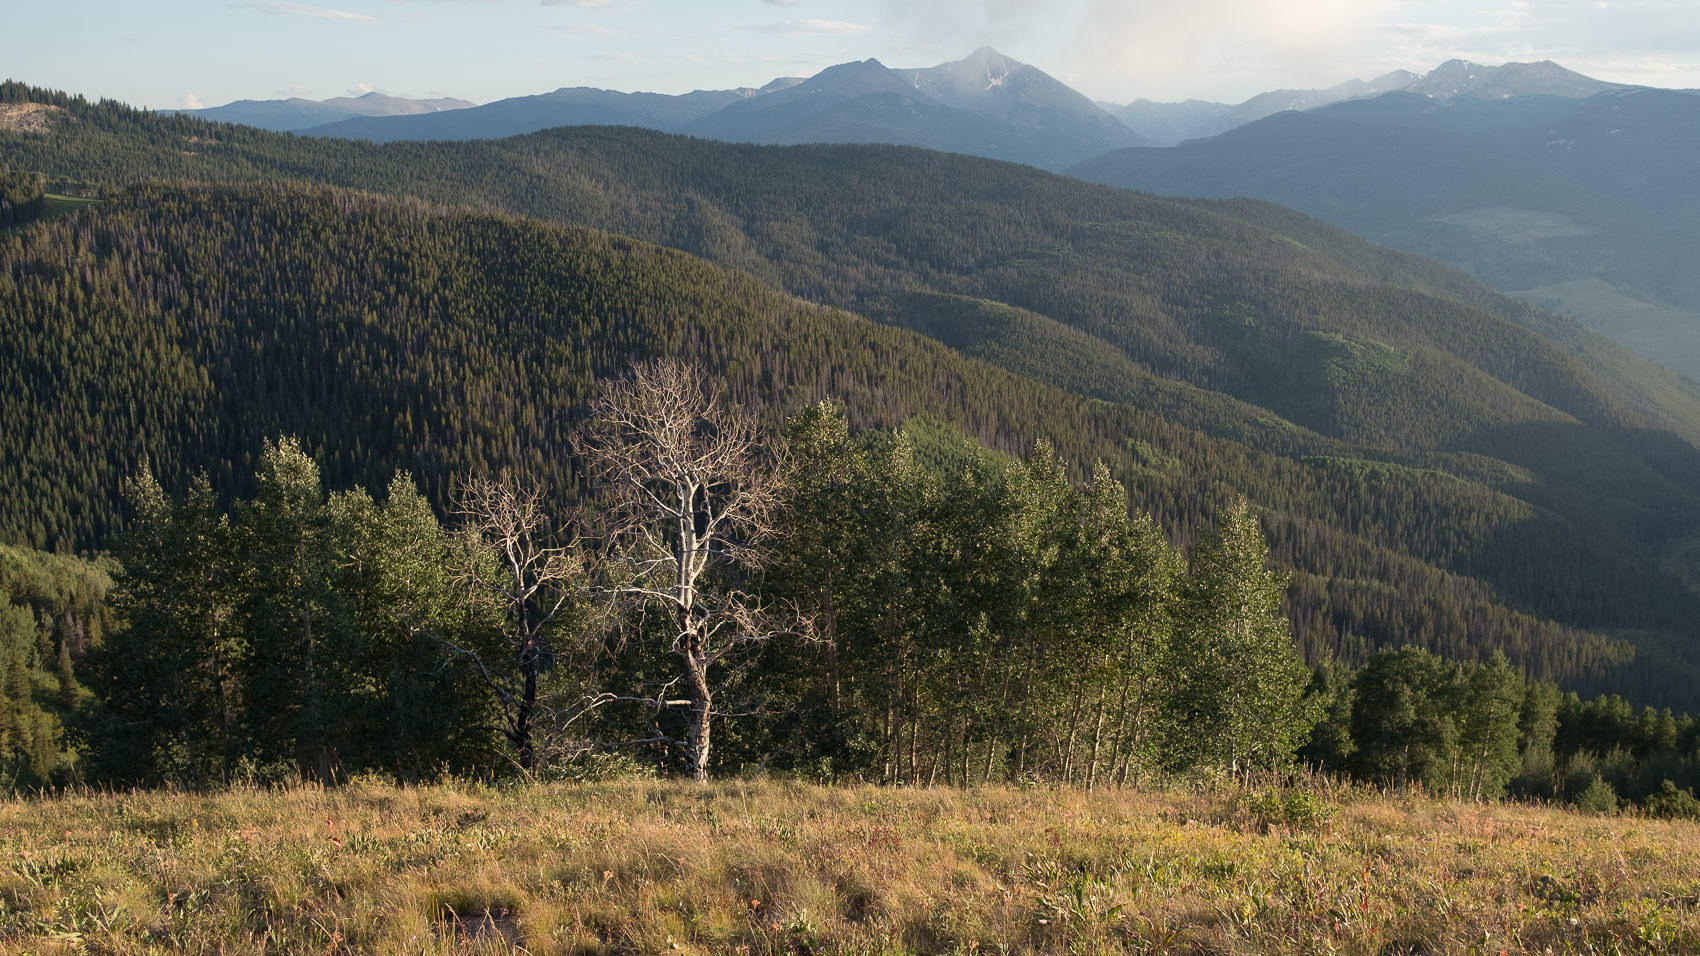
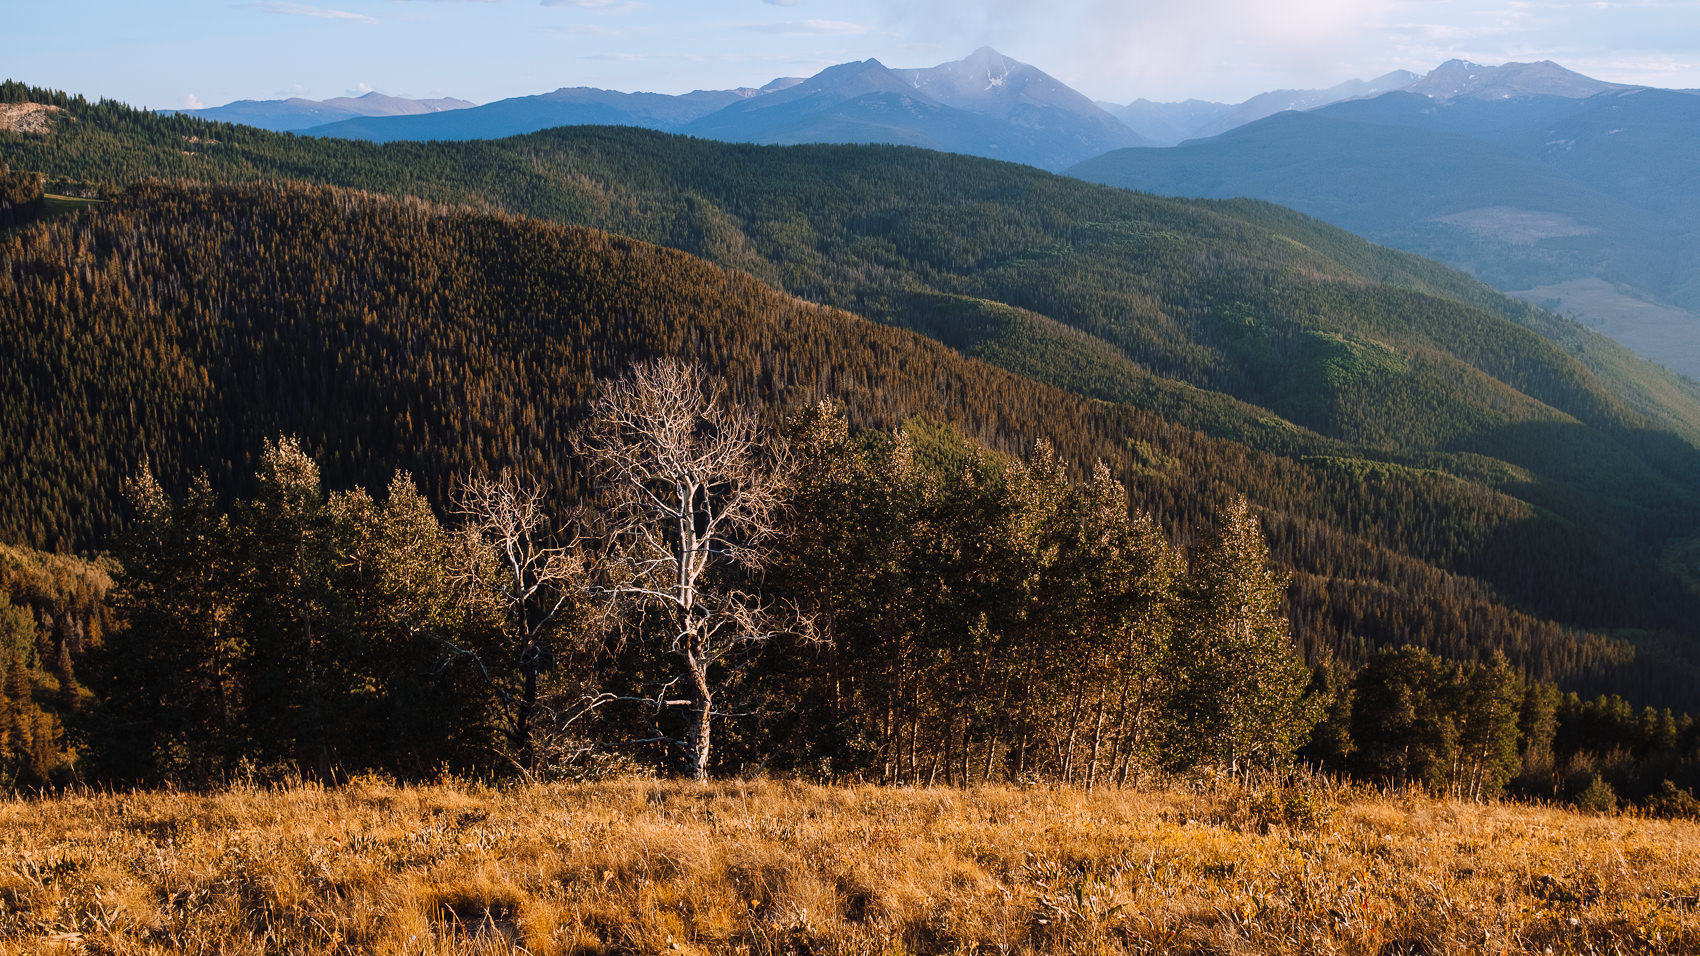
K-Chrome 03 Film Saturation ++ Film Punch +
K-Chrome 03 is ideal when you want to dramatical change the hues in a landscape. I don't want to mess with it too much, but I've added film saturation to even out the saturation in the scene, and film punch to take those rich shadows and darken them even more.


K-Chrome 02 [+] Film Saturation ++
K-Chrome 02 is one of my all time favorites, because it works so well in so many places. Here, I've used the [+] variation to make the effect even more intense. The only tweak I make the film toolkit is to add Film Saturation ++ to bring out more saturation in the sky.
00 days :: 00 hrs :: 00 minutes :: 00 seconds
NATE Starter Pack Examples
Whether you're using the free starter pack, or the paid version (SP-PRO), the NATE Film Toolkit is a wonderful way to shape the tones in your photo. The Starter Pack has a number of different looks (some strong, some subtle), so there are a lot of ways you can use the Film Toolkit. For me, I tend to use the Film Fade, Film Grain (all levels) and Film Punch most with the pack.
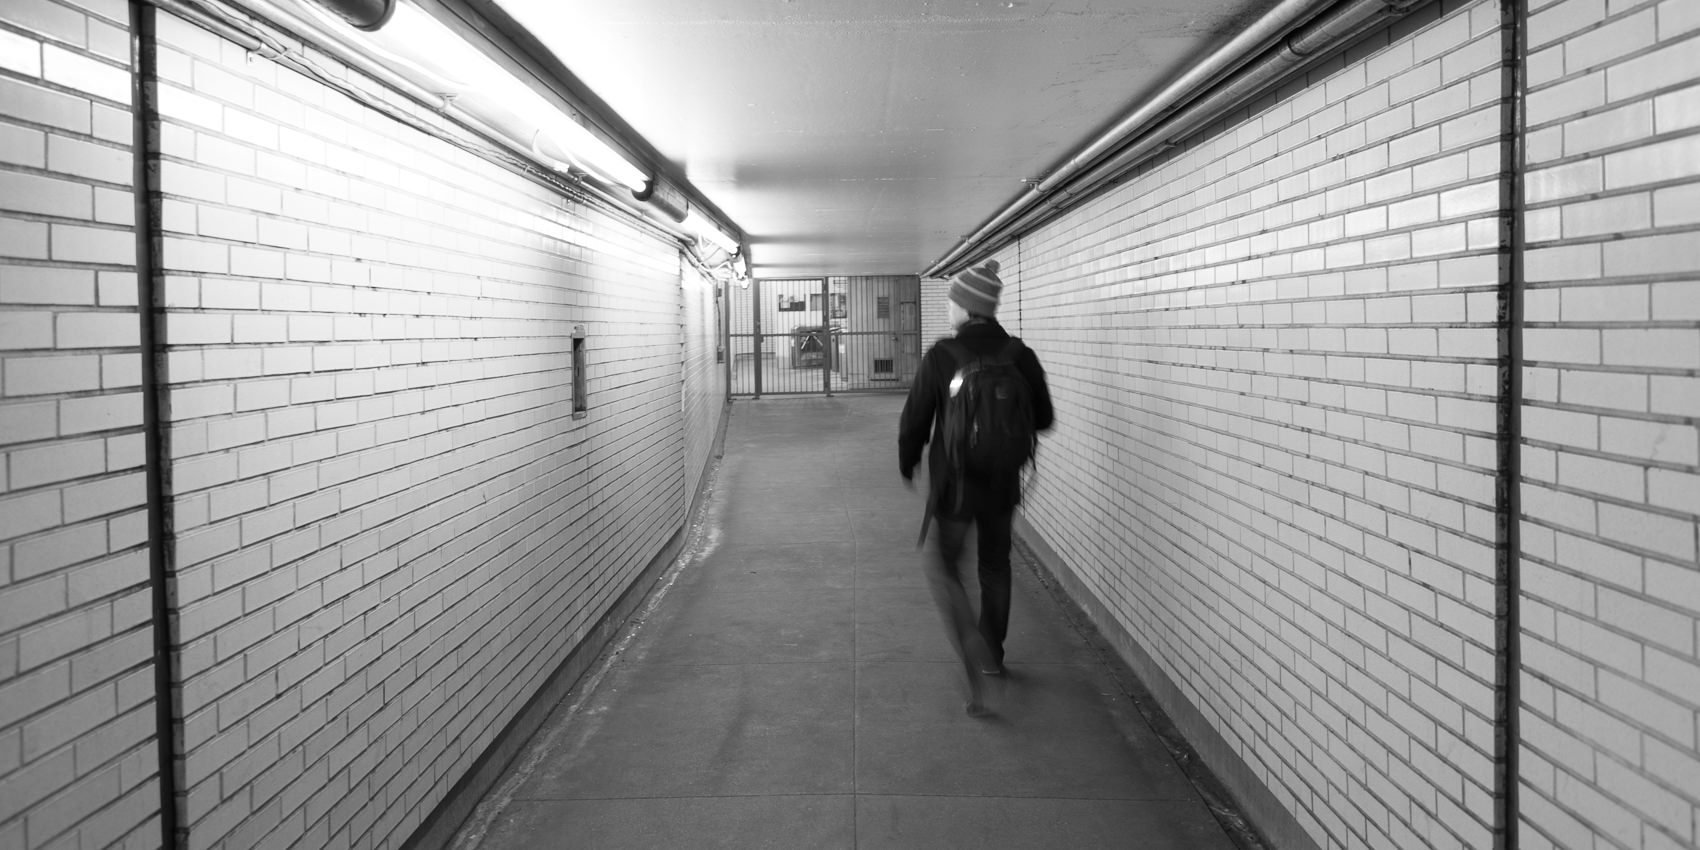
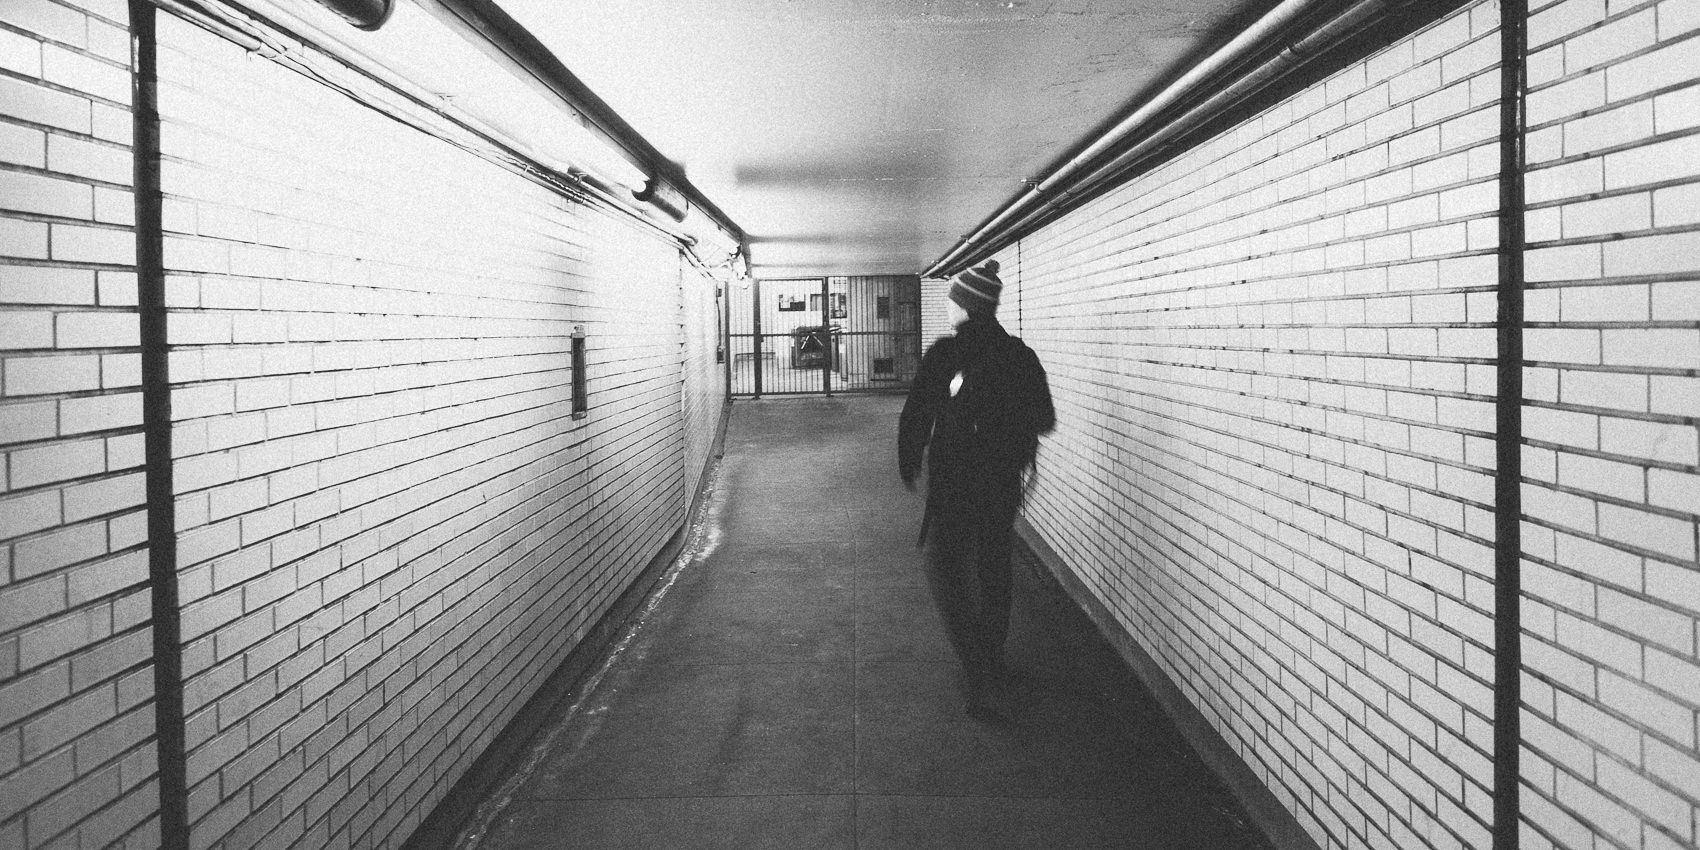
SP-10 Film Punch [+] Grain[10-15] 1600 ISO
SP-10 is already a strong, very faded black and white. I've used "Film Punch" to deepen the image, and 1600 ISO film grain to compliment the effect of pushing film.


SP-06 Film Saturation + Film Punch ++
The SP-06 preset is already a strong effect, but it compliments this scene, giving it an "arid, deserted" feeling. To emphasize the darker tones in the foreground, I've used Film Punch ++ . And just a bit of Film Saturation evens it out.


SP-03 [––] Film Saturation + Grain 200 ISO
SP-03 is one of my favorites from the starter pack. Here, I've used the [––] strength to produce a more subtle, natural effect. The film saturation softens up the image with more consistent saturation. And just a touch of grain adds subtle, film-like texture.
00 days :: 00 hrs :: 00 minutes :: 00 seconds