Learning how to take photographs that make a small space look bigger is an essential skill for any photographer. Perhaps you are taking photos a small room in your house and want to make it feel like a big room. Or perhaps you are simply in a situation where there isn’t a lot of space to shoot.
In any case, learning what tools to use in this situation can be very valuable to you and your clients. So in this guide, I’m going to show you step by step instructions for how to make any space look bigger, wider, and more expansive in your photos.
So first, we’re going to talk about what equipment to use and why to use it. If you don’t have the right equipment, then it doesn’t matter how good your technique is – you won’t be able to really maximize the open and expansive feeling that you’re going after.
Second, I’m going to show you some tips and tricks for composing, shooting and processing your images in a way that enhances the feeling of depth and openness. Once you have the right equipment in your hands and you’ve mastered the technique, you’ll be taking amazing photographs in even the smallest spaces!
So let’s get started!
Step 1: Use the Right Equipment
No matter how hard you try, you’re not going to be able to take great photos of small spaces if you don’t have the right equipment. If changing your equipment isn’t an option, you can skip forward to the next section, but you won’t get great results. If you are really serious about taking great photos of small spaces, then you’ve got to get the equipment right!
Use a Camera with a Full-Frame Sensor
I can’t stress enough how important this first step is. If your camera body does not have a full-frame sensor on it, you are going to have a bad time. What is a full-frame sensor? That means that the sensor on the camera is large enough to capture the true, full-image of a standard lens. So when you shoot with a 50mm lens, you are seeing the full, un-cropped perspective of a 50mm lens.
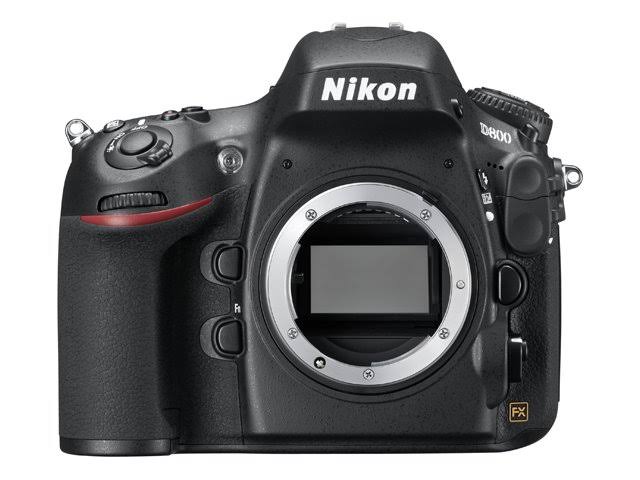
I shoot with Nikon D700 (now a Nikon D800), which is Nikon’s entry-level professional lens with a full-frame sensor.
Most consumer level and semi-pro level cameras are not full-frame. They use a “cropped-sensor.” As the name implies, it “crops” all the photos you are taking. The effect of a “cropped-sensor” is almost like it is zooming in on your photos and just taking the very center part of it. It makes images feel more narrow and zoomed-in. In essence, a cropped-sensor makes your small-spaces feel even smaller. That’s bad news.
Use a Wide-Angle Zoom Lens
Ok, now that you’ve got your full-frame camera body, let’s put it to good use with a wide-angle zoom lens. What exactly makes a lens a “wide-angle lens?” Basically, the standard lens – the size that is most equivalent to how the human eye sees – is a 50mm lens. So anything below 50mm is consider to be a “wide-angle lens.” The lens captures images wider and more expansively than the human eye sees them to be.
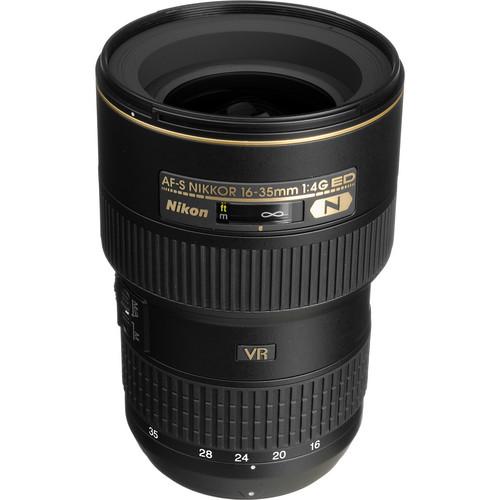
For this type of shot, I like to use Nikon’s 16-35mm lens. It’s got just the right perspective and versatility to give your images a wide-open feel
For this type of photo we’re after, you’ll want a wide-angle lens somewhere between 16-35mm. Anything below 16mm and it starts to feel very unnatural. Anything above 35mm and it you start to lose the effect we’re going for. You can get the best of all worlds by using a wide-angle zoom lens, which will give you more options. I use a 16-35mm wide angle zoom lens from Nikon. It’s an amazing lens once you learn how and when to use it!
Step 2: Compose Your Photo To Maximize the Feeling of Depth
OK, you’ve got the right equipment in your hands. Now it’s time to start composing some photos! This is the really fun part. You get to use your creativity to find fun & interesting ways to show off your small space!
Bring Elements into the Foreground
One of the simplest tricks for making a space feel more expansive is to make sure your photo has a foreground and a background. By having some elements close to you, and others far away, you will create a greater feeling of depth and space then if all of your elements are on the same plane.
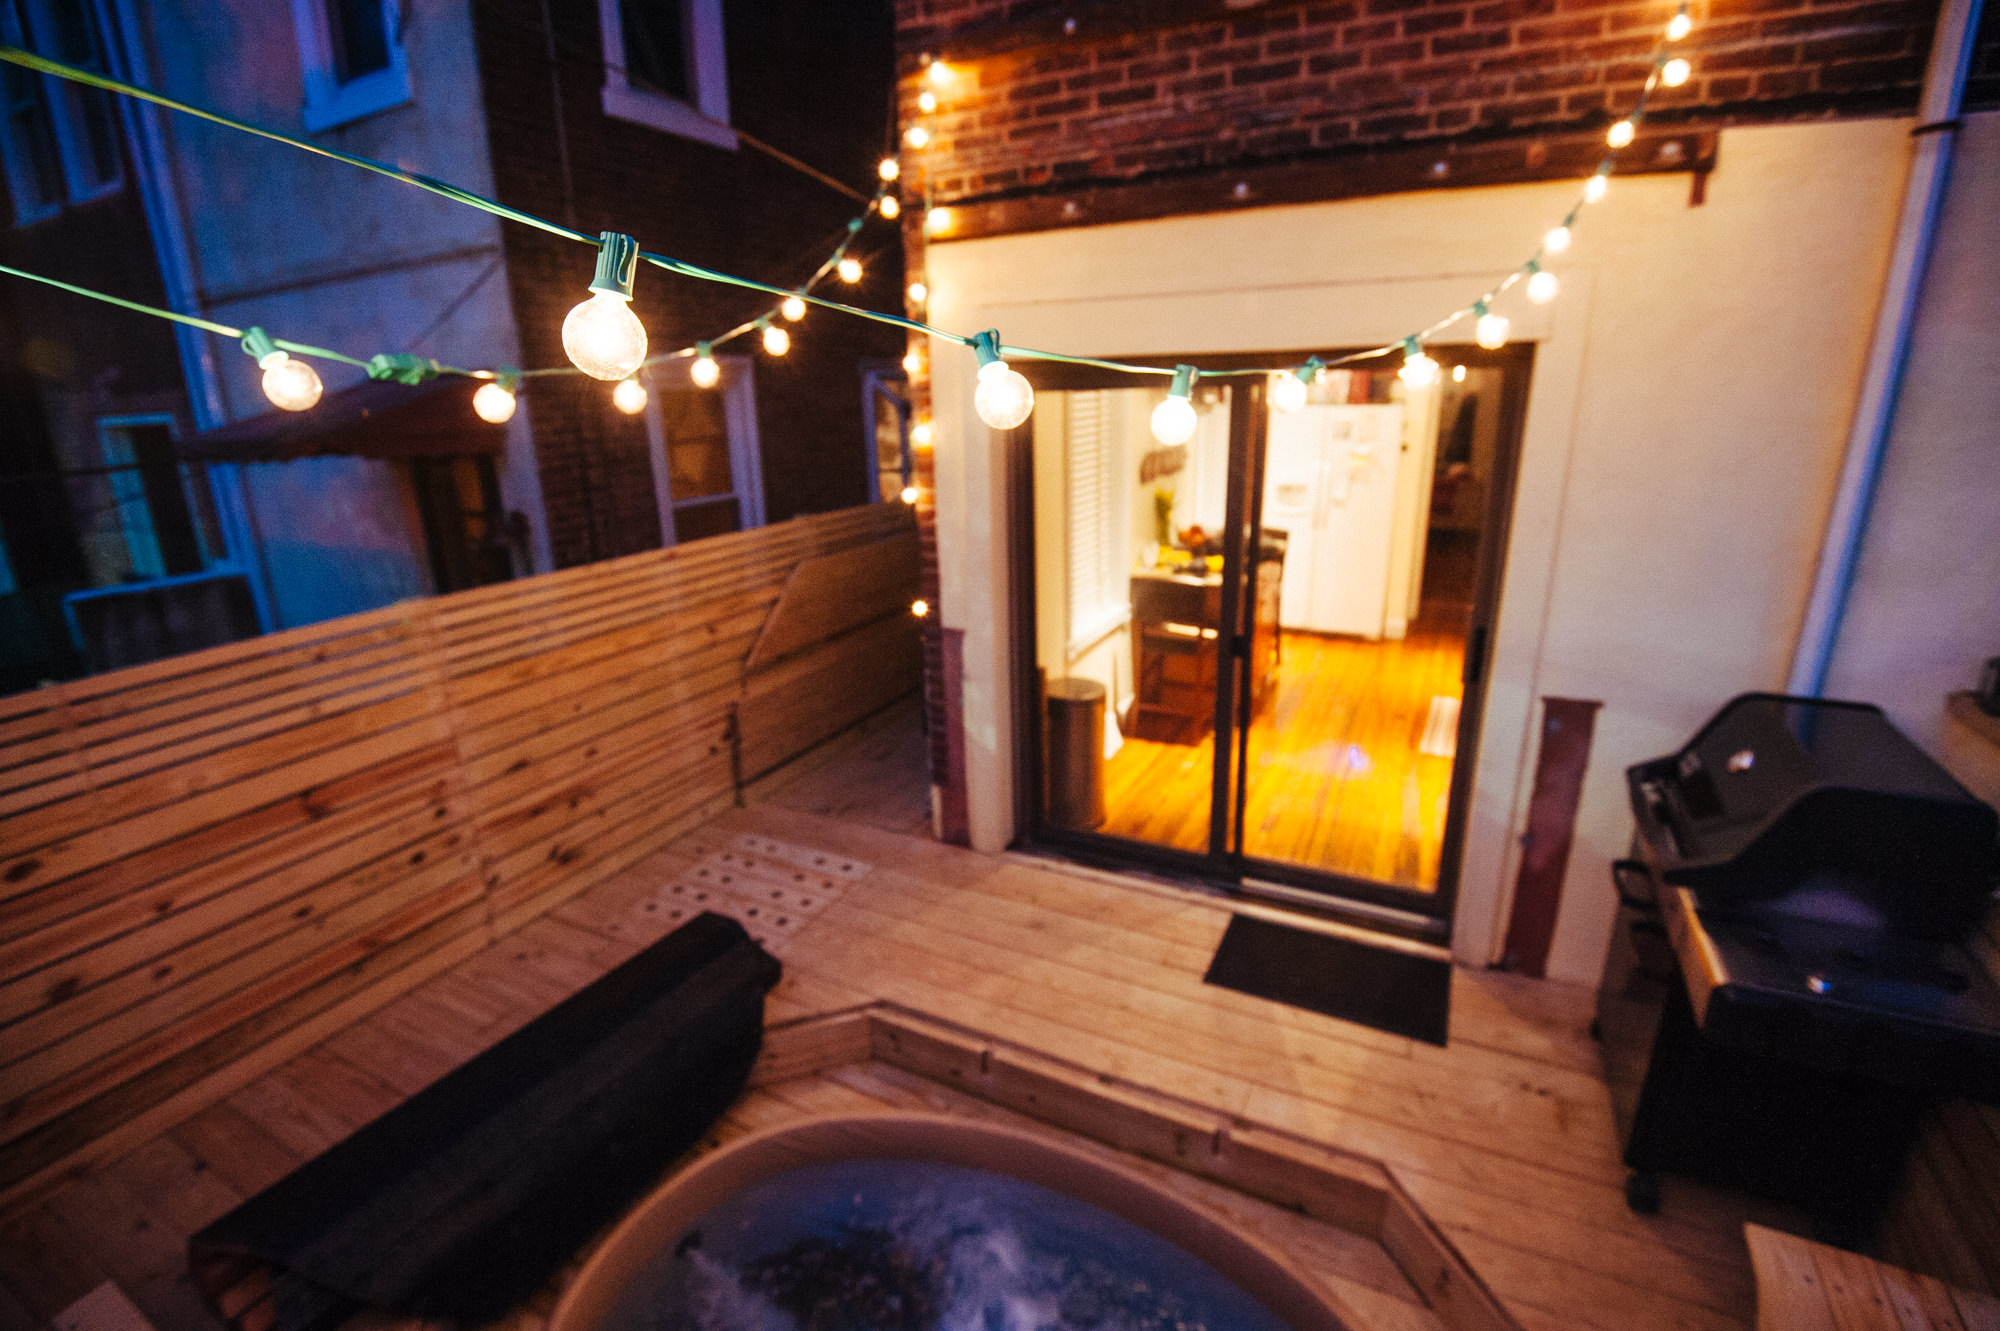
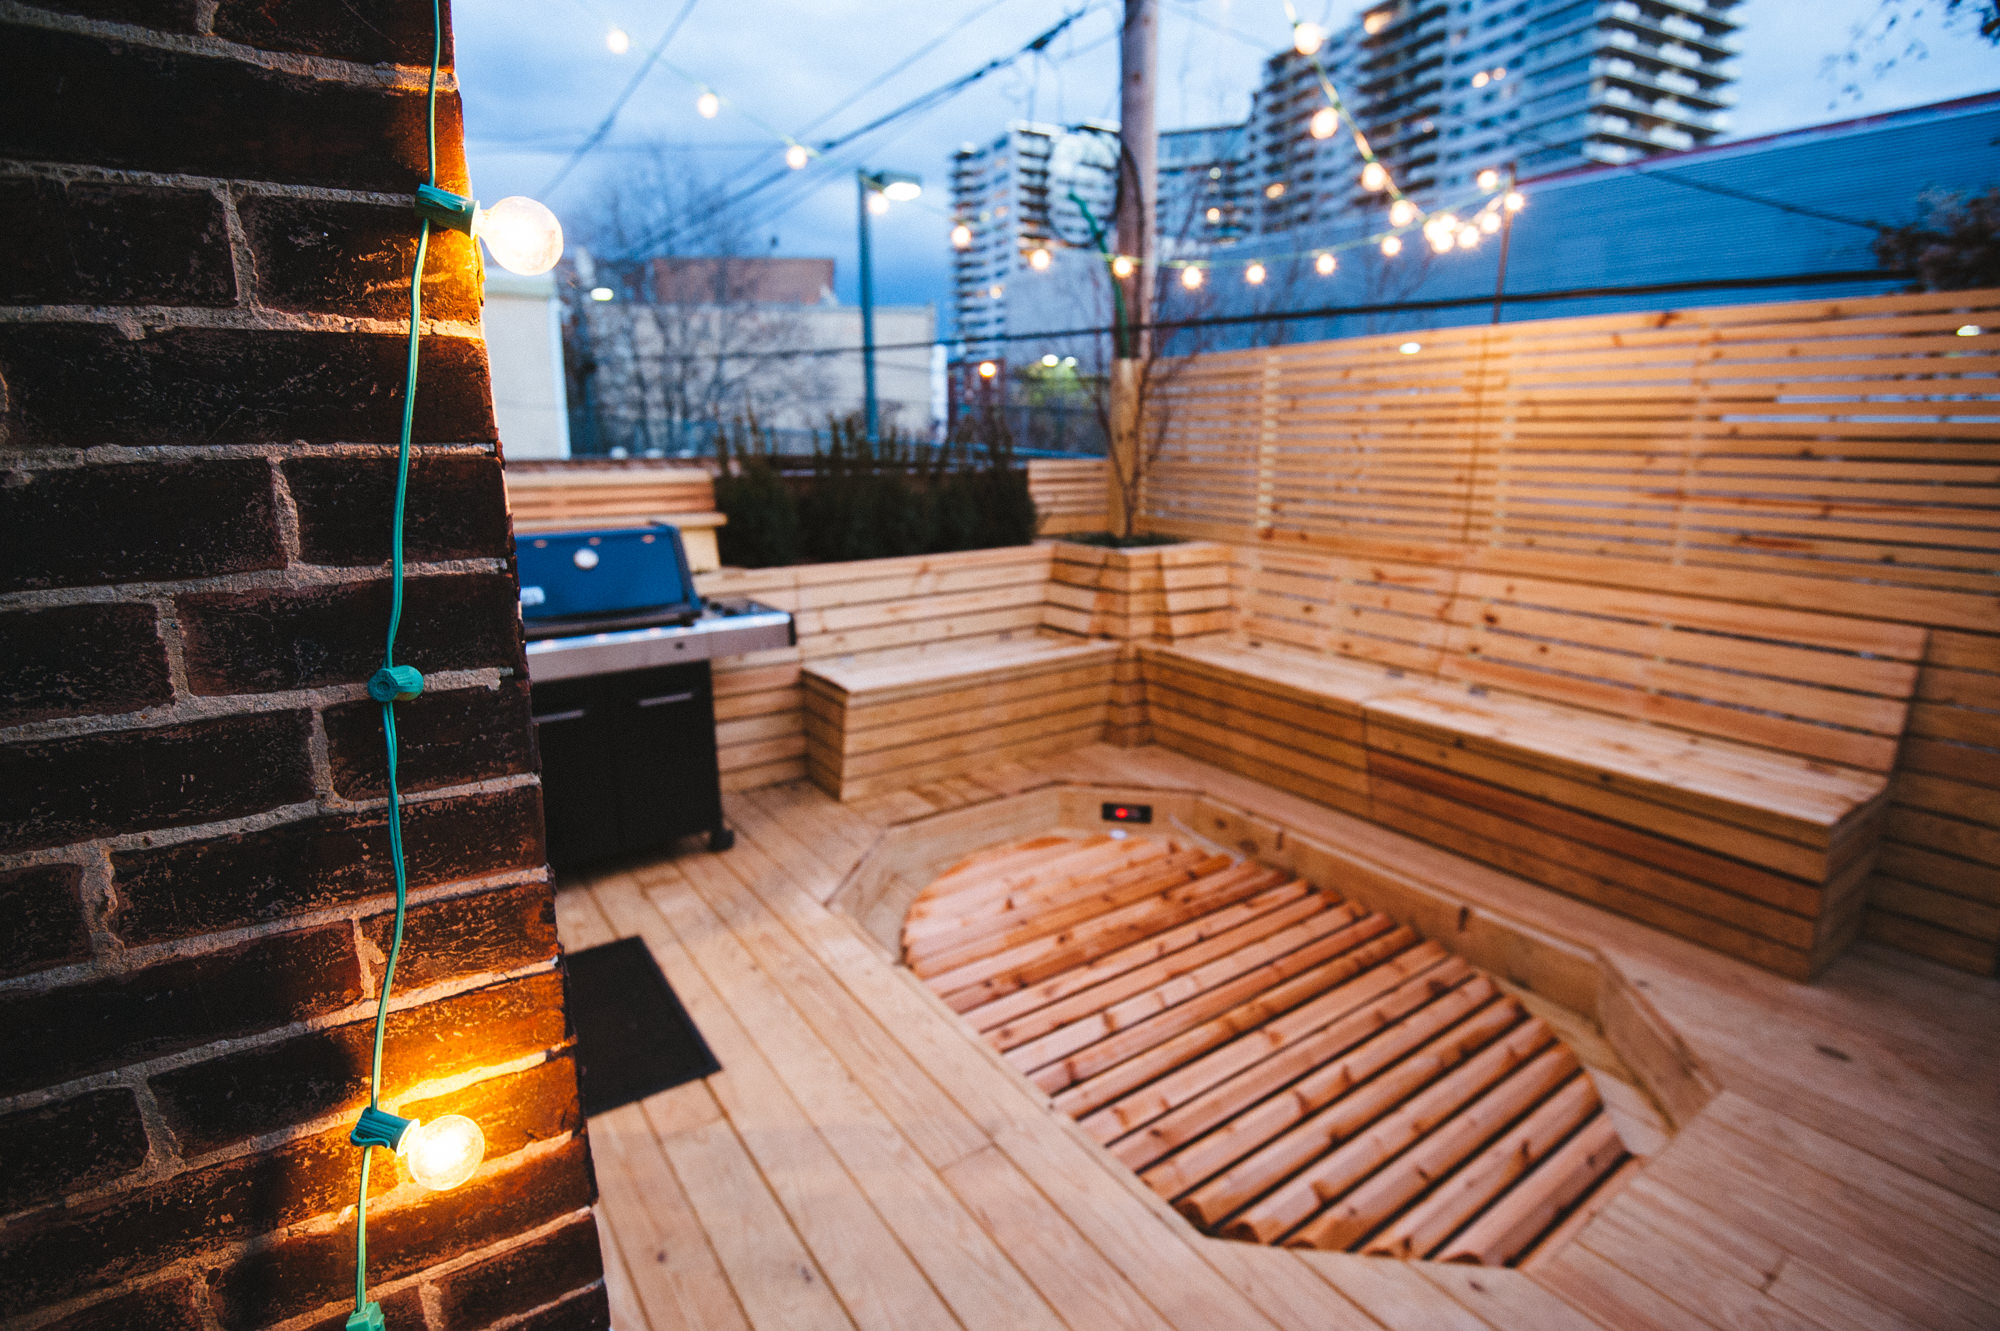
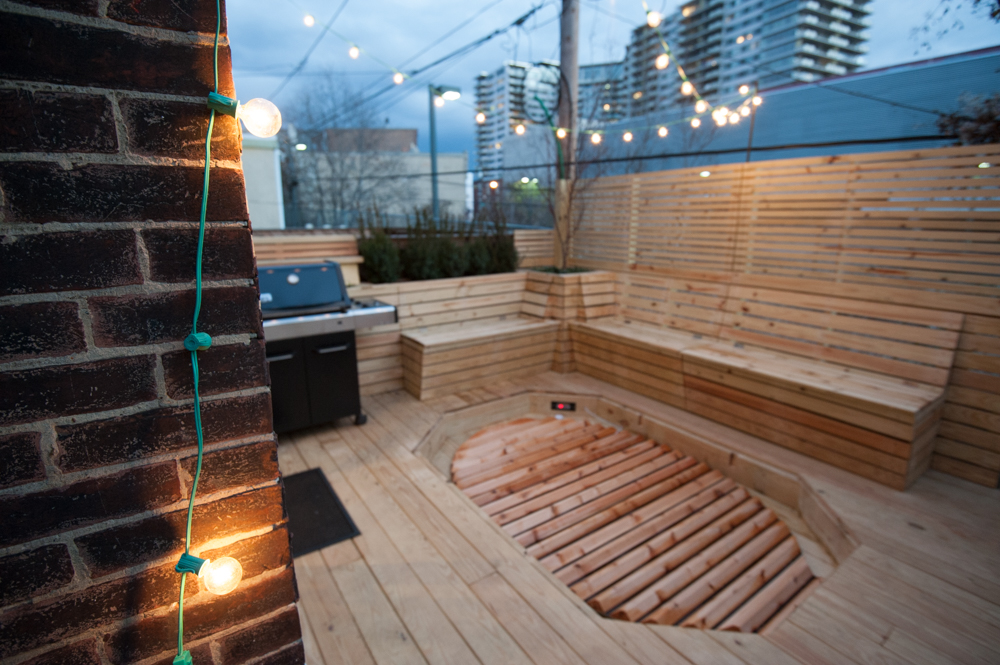
By bringing the first string light in the foreground into focus, I’m able to create a much greater sense of depth and space in this photo. (16-35MM @ 19mm, f4.0, 1/50s, ISO 1600)
Try Shooting From Corners
Shooting a scene straight on may seem like an obvious choice, but it is often the most boring and unexciting. By shooting from the corners, you bring in more diagonal lines, which add interest and excitement to a photo.
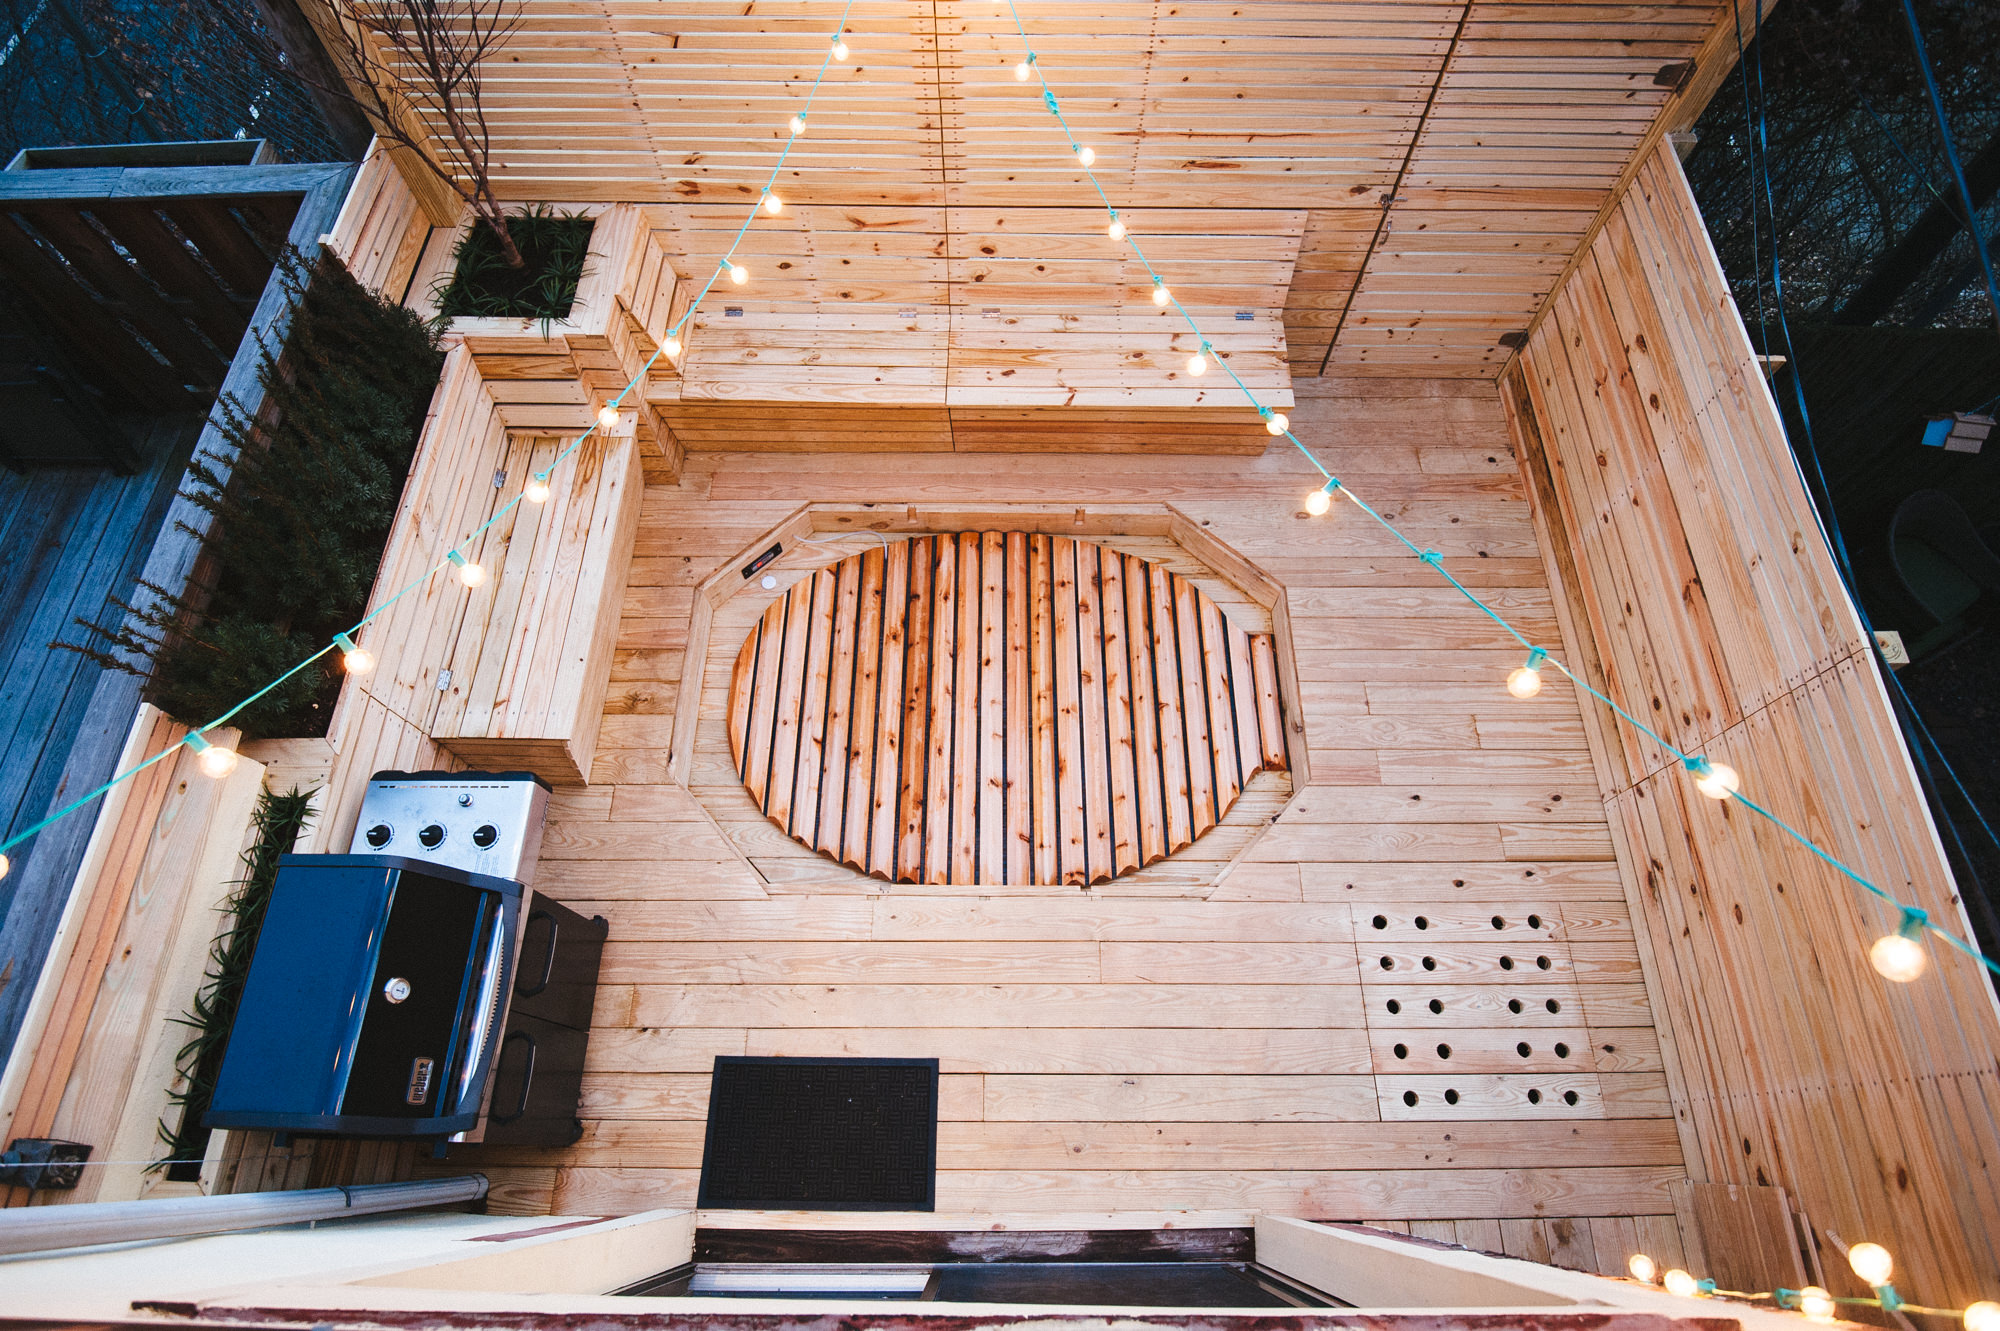
Shooting from the corner of the deck here not only allows you to see the entire space better, it adds more interest and excitement by bringing in diagonal lines. (16-35mm @ 16mm, f4.0, 1/6s, ISO 3200)
Try to Keep Your Camera Level to Avoid Perspective Distortion
One of the effects of shooting with a wide-angle lens is that it can add a lot of perspective distortion. For instance, if you tilt your camera up towards a tall building, a wide angle lens will exaggerate the effect of that building appearing smaller the higher it goes. Sometimes, a little bit of this can be interesting and desirable. But too much, and it looks unrealistic, and gives away the fact that you are using a wide-angle lens.
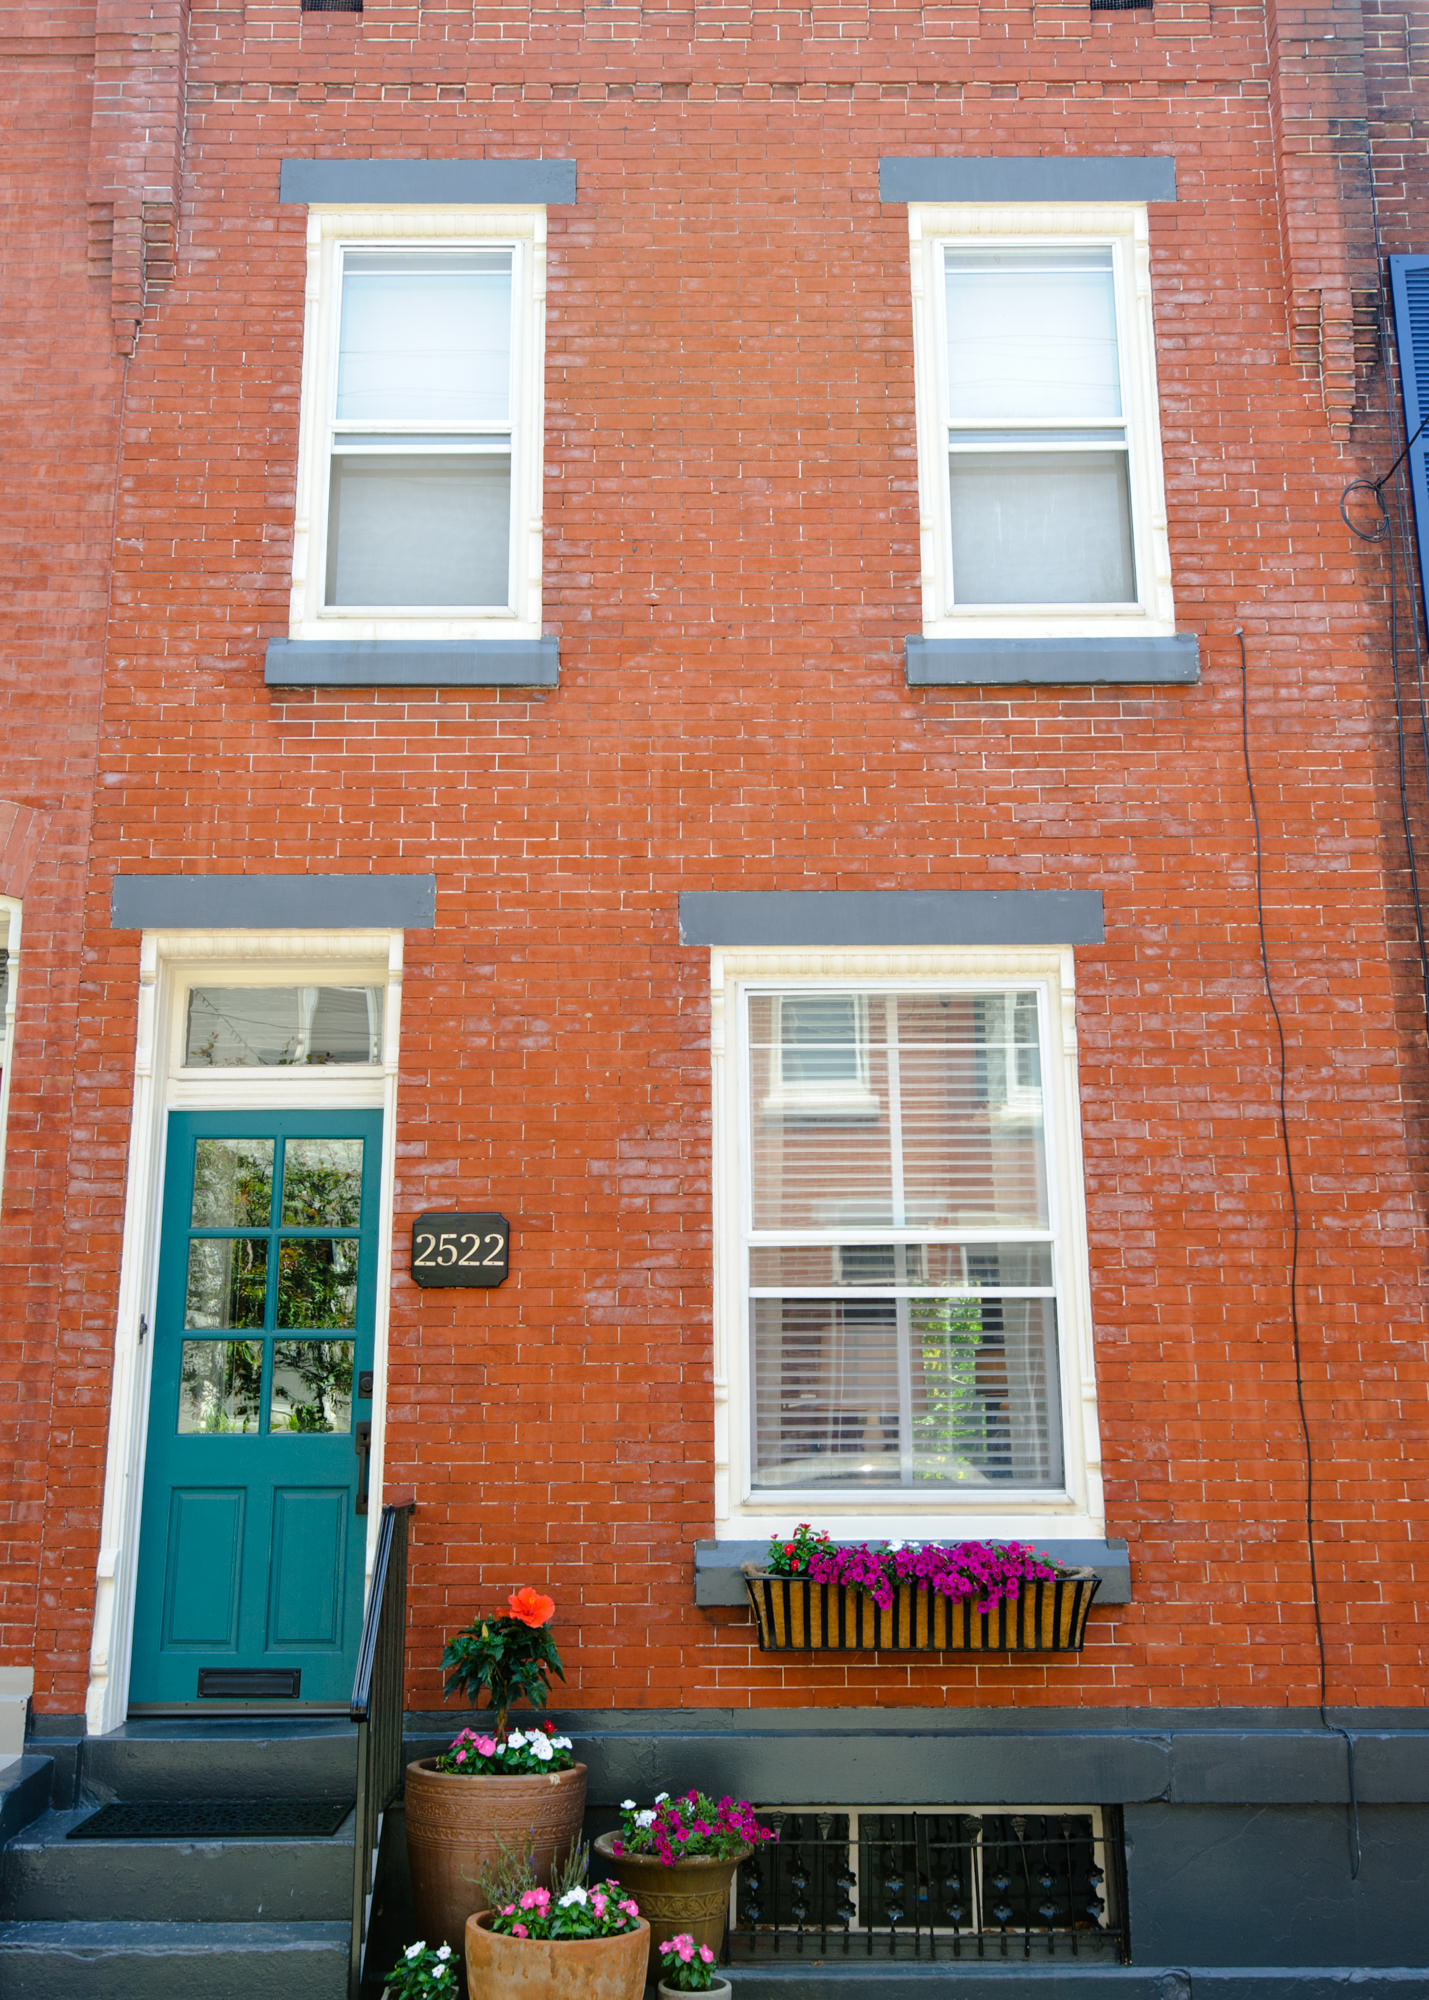
When a wide-angle lens is titled up, it creates a distorted, unnatural sense of perspective. Sometimes this is useful, but it can make images appear fake or maniupulated
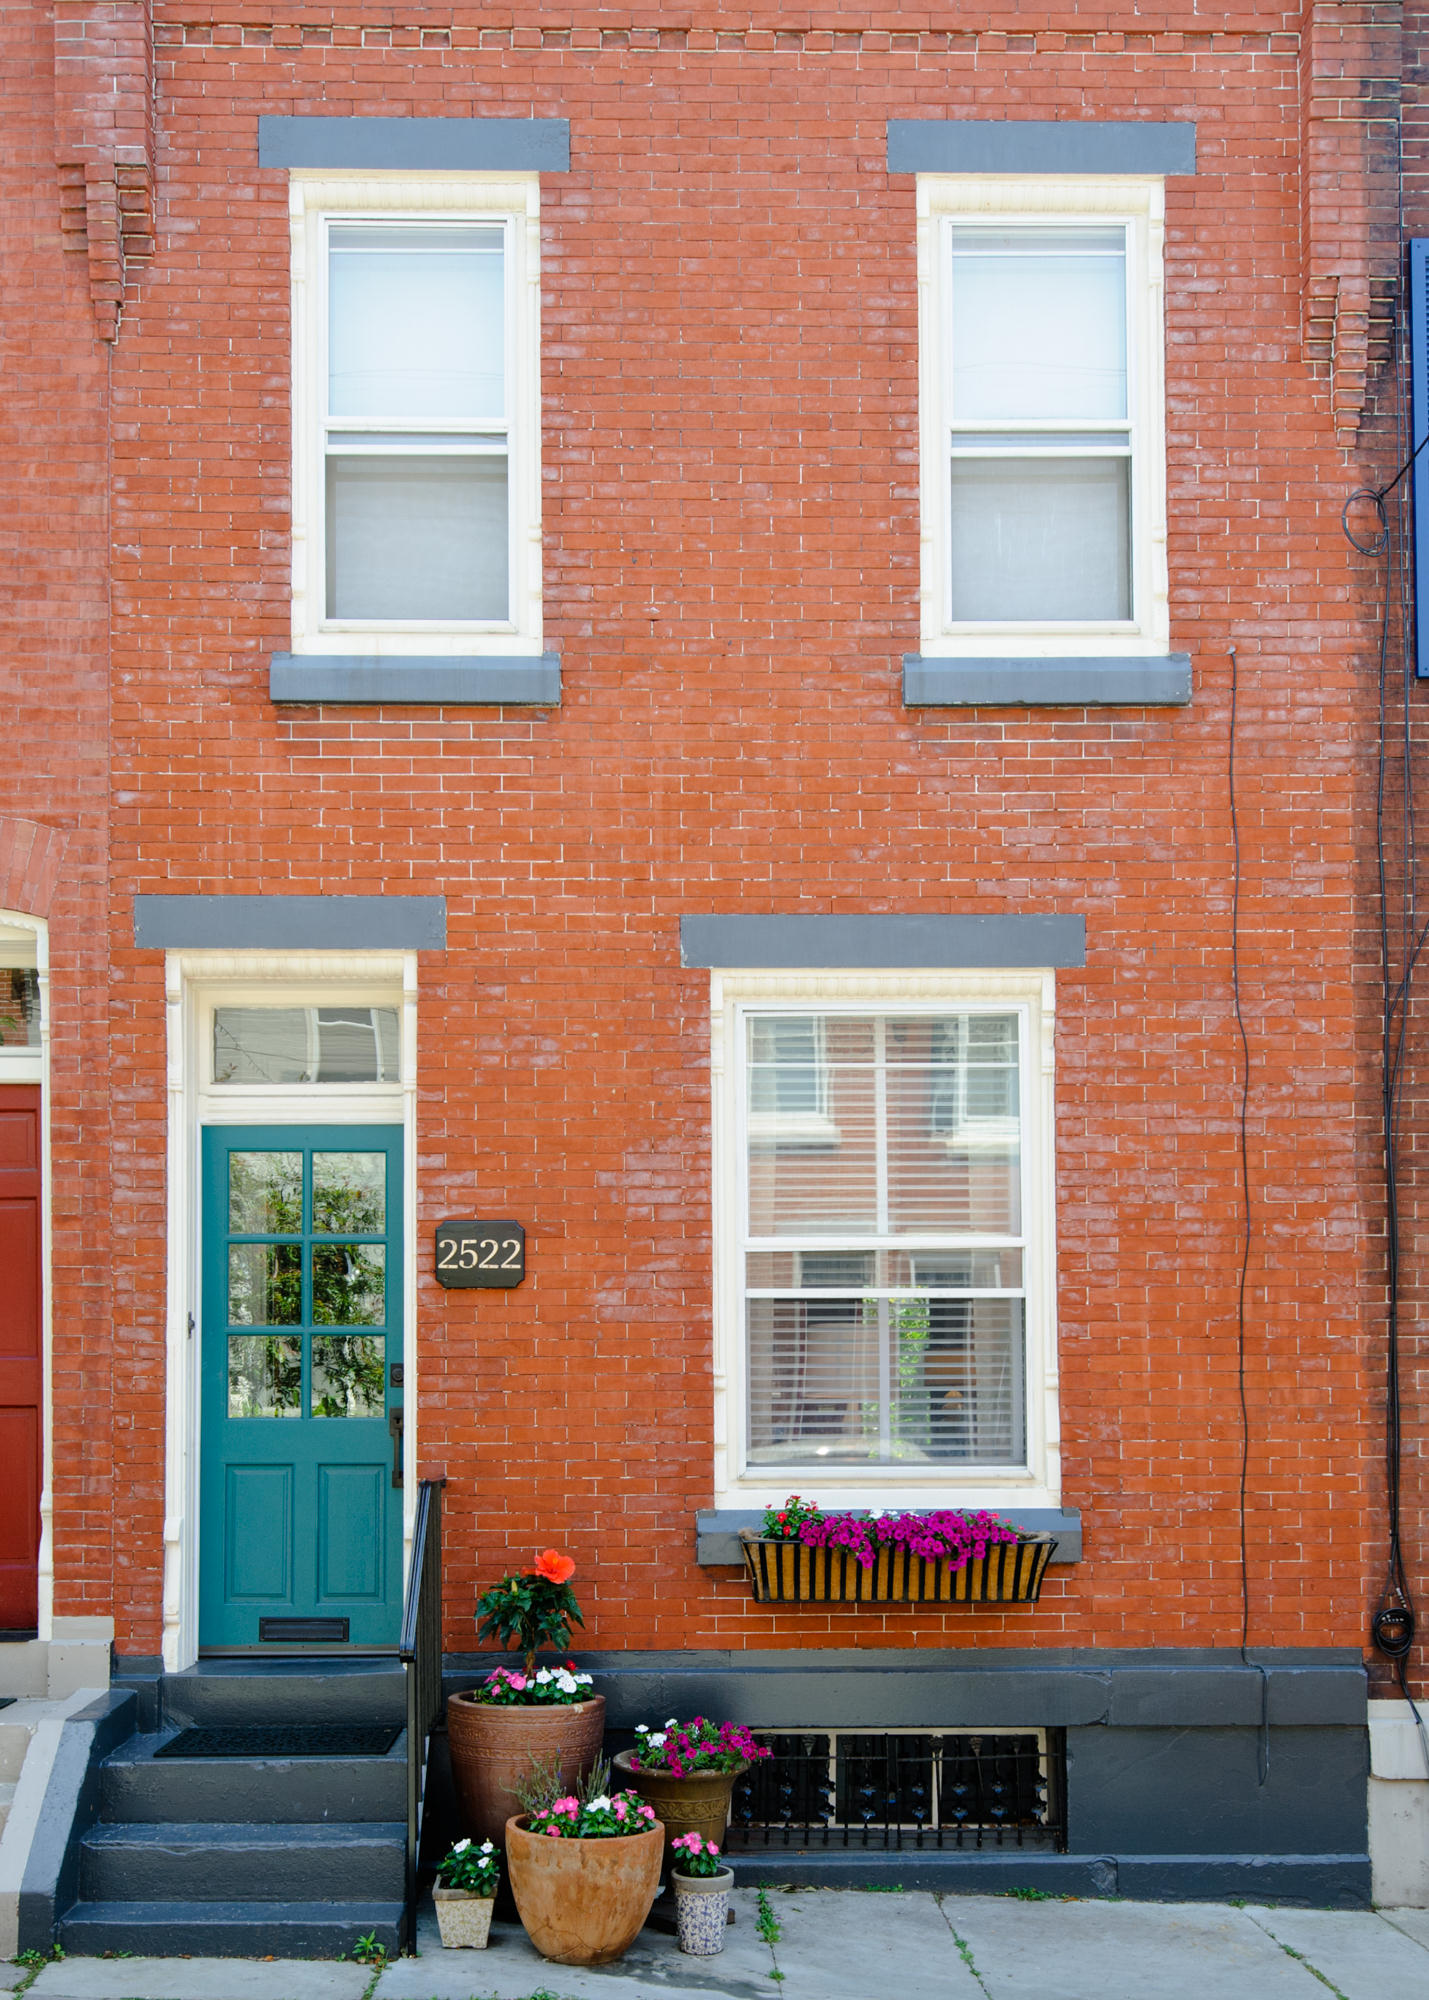
By simply leveling the camera, the distorted sense of perspective goes away, creating a more natural looking perspective.
So, generally, it’s a good idea for this type of shot to avoid tilting your camera up or down, and instead, position yourself where you can shoot the scene while holding the camera somewhat level.
Step 3: Taking Your Photo
Ok, so now, you’re ready to start taking your photos. Before you do, though, let’s look at one more trick for really maximizing that feeling of space.
Always Shoot RAW
If you’re not shooting RAW, well, you really should be. This will open up a lot of options for you when you go to processing, and allow you to make tweaks to the image later than will really help them pop. Right off the bat, your images won’t look any better, but with a few tweaks, they will be professional grade.
Use a Shallow Depth of Field (use a lower F-stop number)
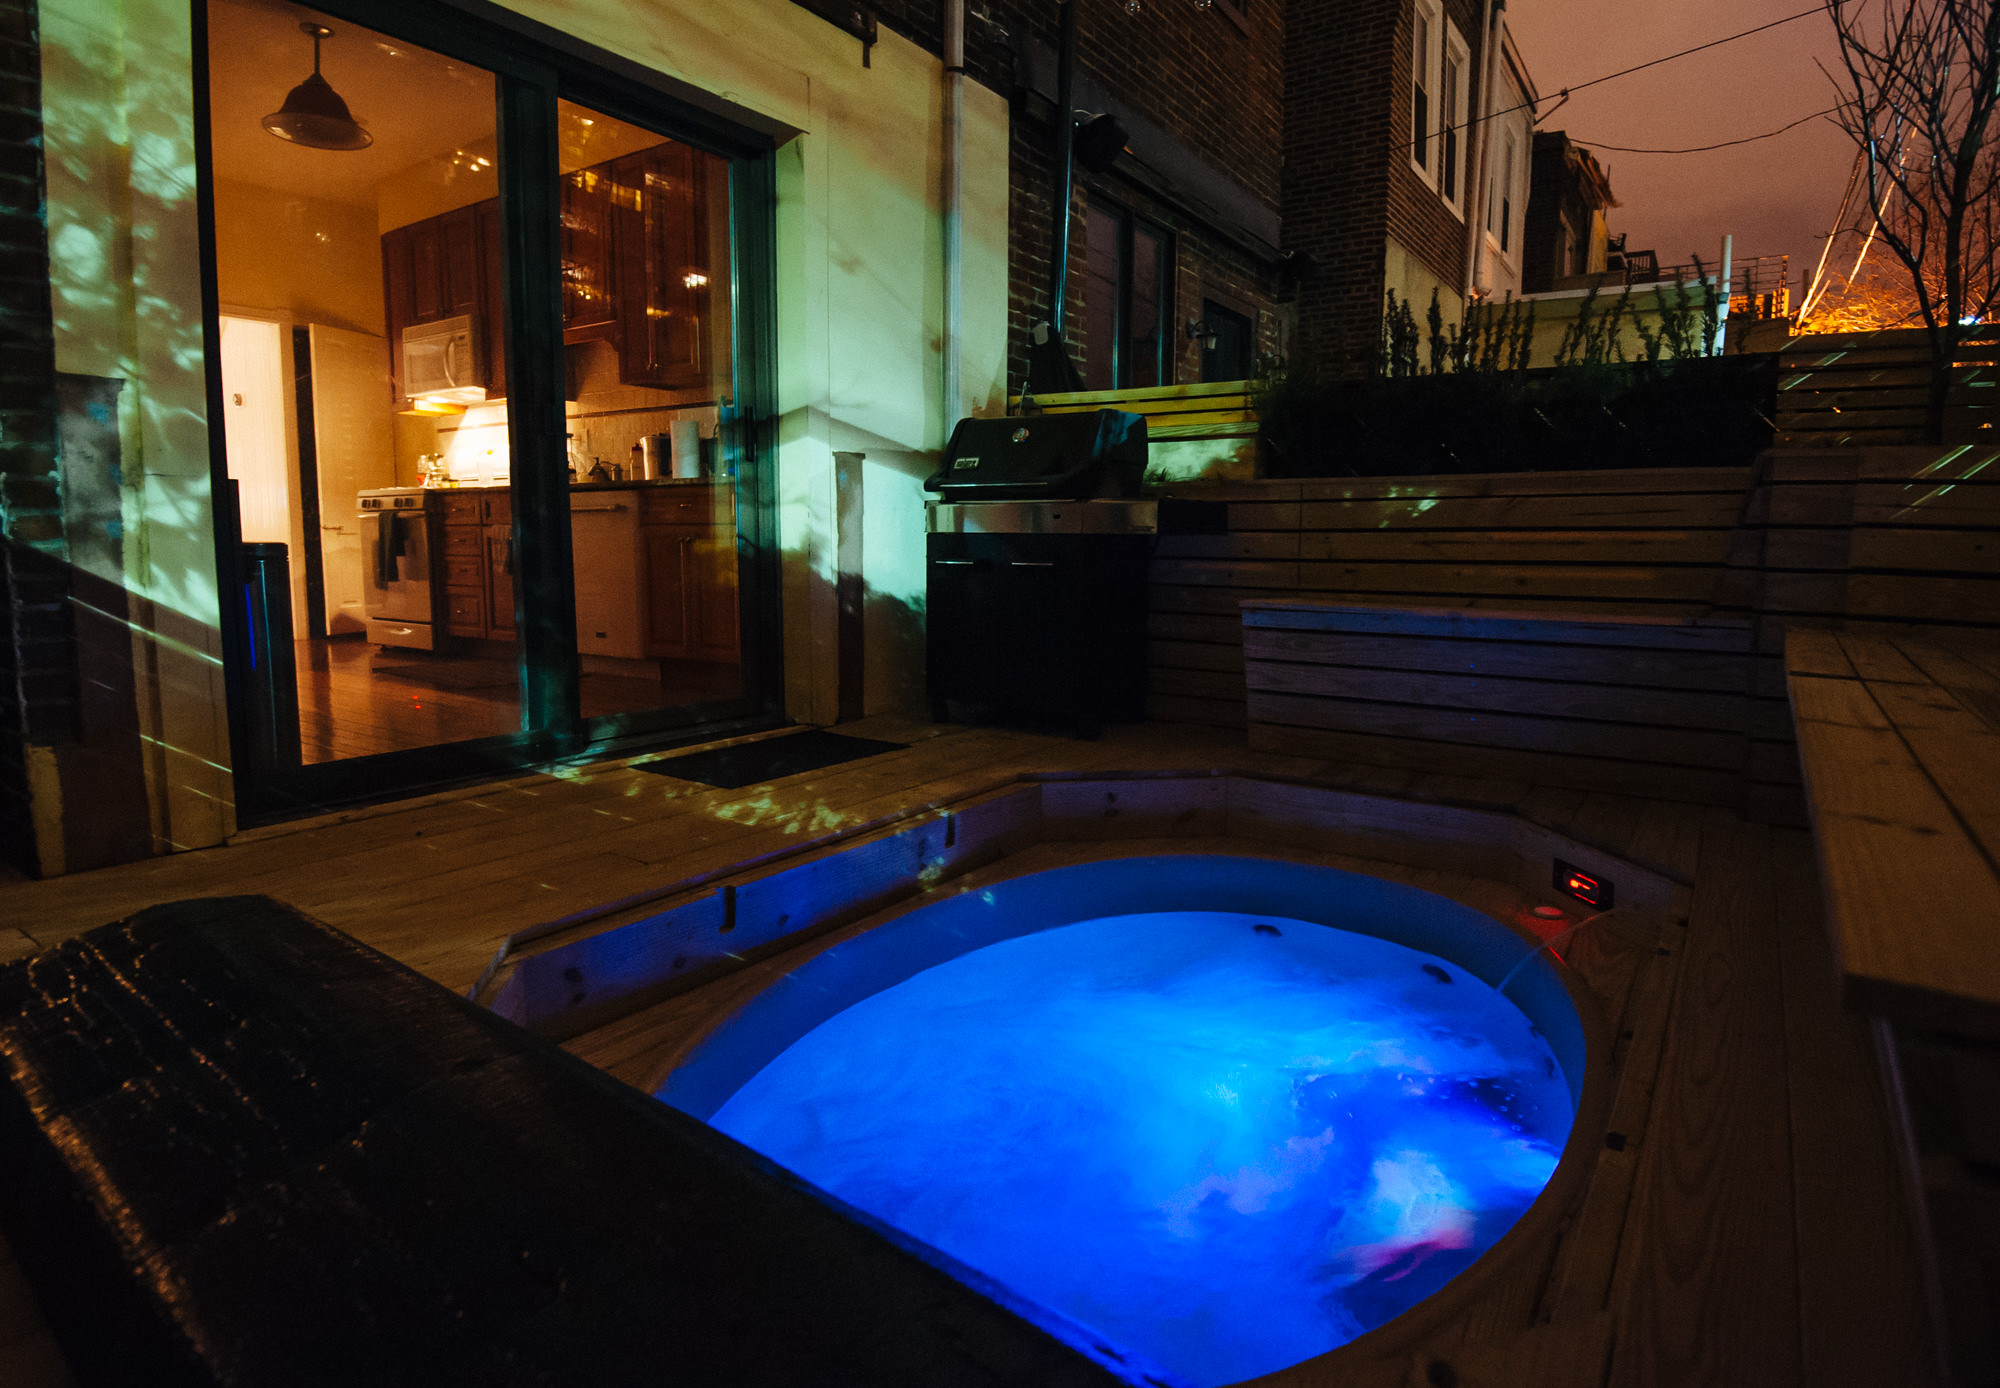
This is a great trick for really maximizing the sense of space. On your DSLR, lower your f-stop to somewhere around 3.0 to 4.0. Then make sure your focus is on one of your foreground subjects. This will make the background start to become a little bit less clear and out of focus, which helps to enforce the illusion that the space is large.
Using a f-stop of 4,0, and focusing on the closest string-lights, this image has a strong sense of space and depth.
Step 4: Processing Your Photo
Alright, so you’ve got your photo, now I’m going to show you how to process it in Adobe Lightroom that really brings out an expansive, 3D quality to the image.
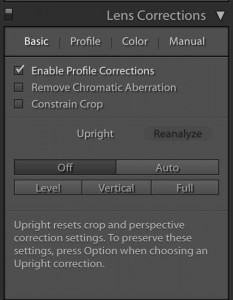
Fine-Tune Lens Correction in Lightroom
When developing in Lightroom, always check out the “Lens Corrections” panel. From the “basic” section, be sure to check “Enable Profile Correction.” It should then automatically find your lens and correct for any distortions. If it doesn’t, you can manually find it.
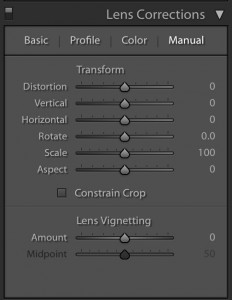
I’ve also found the “manual” section to be useful when there is noticeable perspective distortion that I want to correct.
Use a Film Emulator (like VSCO)
Film is notorious for adding a rich, 3D feeling to images. Most digital images don’t have this feeling right out of the box. That’s because digital images give us a very flat, linear representation of an image, whereas film had beautiful, non-linear representations, with just a touch of grain that added a feeling of depth.
Straight out of the camera, the image feels flat and two-dimensional – a common problem with digital photography

After 1-click, using a film emulator called VSCO, the image feels more lively and three-dimensional. (Here I’m using the preset “Fuji Astia 100F ++”)
I use film packs from a company called VSCO. All of the images in this post where processed using the Fuji Astia 100f filter from VSCO film-pack 04. I can’t recommend this enough. With one click the images go from just ok, to stunning and full of depth and dimension.
Conclusion
So that’s it! Everything you need to know to shoot amazing photographs of small spaces. If you have any questions, just leave a comment below!
Thank you for the post Nate! It’s a good tutorial!
PS: in the caption to the Nikon camera you wrote “lens” instead of “camera”.
Thank you for your post !! I start to like your site, great insight and inspiration for an amatuer like me, waiting for more tips and inspiration !!
Hi, in relation to photographing small spaces such as insides of Tiny Houses, can you please comment on whether using a very wide angle (fisheye) lens and then correcting the curves in software later is a good idea? I shoot with Nikon DX body and was looking at the Nikon 10.5mm dx lens. Thanks
I think the fisheye may be pushing it a little… even with Lens Correction and using the The “Guided Upright Tool” inside the “Transform” panel, I think you will still have some noticeable lens distortion. In a pinch, though, you could also crop the image in post to eliminate some of the most noticeable curvatures on the edges.
-Nate
I am in Real Estate and looking for a good starting camera. The frameless models are a bit pricey. Is there an alternative lens you can use with the 5500 or 7500 that will give me the wide angle need for small dark interior spaces that I often have trouble with? Thanks in advance!
I loved your tip of using a wide-angle lends between 16 and 35mm when taking pictures of a small space. My wife and I are wanting to sell our house soon and we were wondering how we can take good pictures of the interior of our home to go along with our listing. I’ll be sure to tell her that we should use a wide-angle lens when taking interior pictures.